All 43 spaces of the university, chapter by chapter. Puzzle rooms carry the lockdown notice the game shows when you walk in, and link to their walkthrough. Hubs and lesson rooms have no puzzle of their own. The university's own name has not been settled yet; the game calls it only "the university".
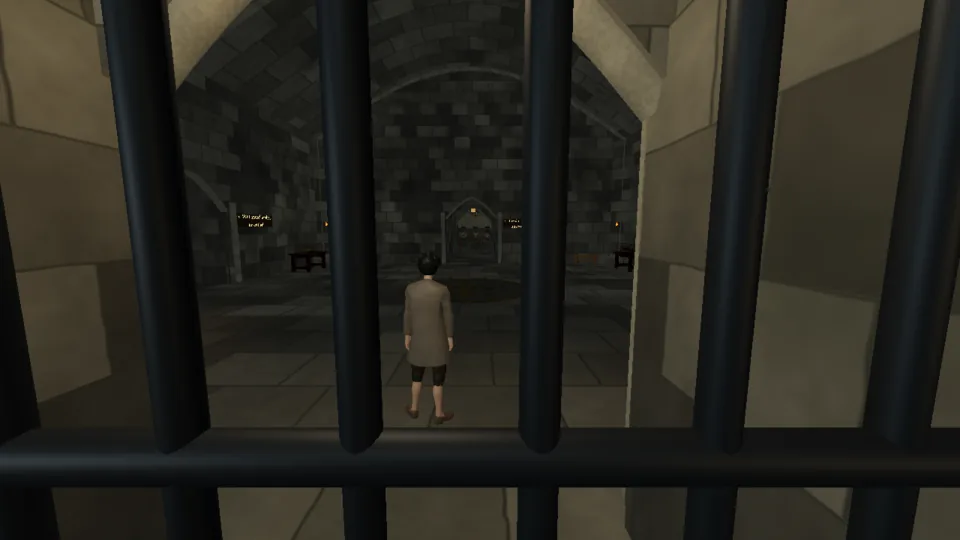 Entrance courtA space with no puzzle of its own.
An open circulation and rest space preserves long views toward its portals; ordinary benches and work surfaces leave the central route clear.
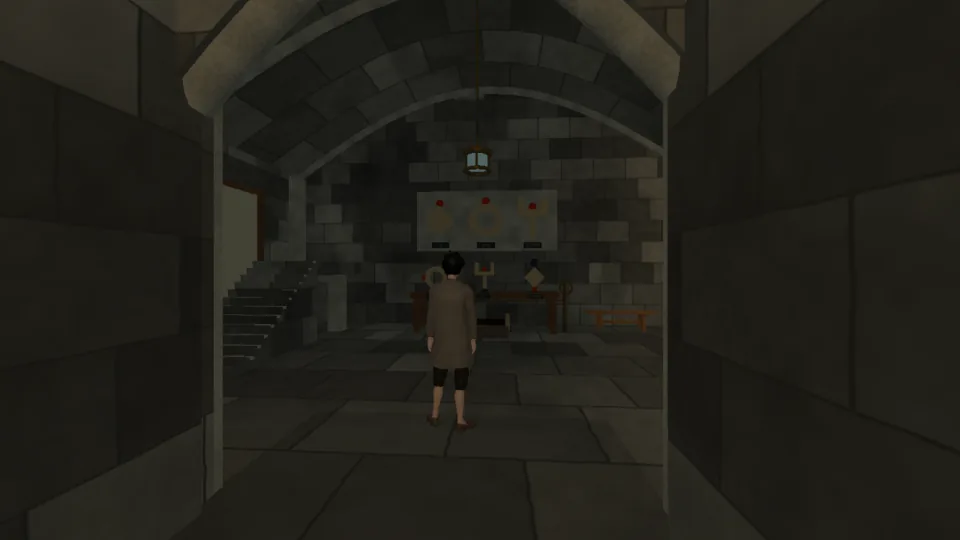 The dark friezeThe rail's ornaments do not answer the frieze above; the archive latch beside the rail holds shut.
Chapter 1, ground floor, through the Entrance court's north arch. Solving it raises the gate signed "Shut until the dark frieze is solved" in the passage east of the room; beyond it the winding stair climbs to the sagging gallery.
"The rail's ornaments do not answer the frieze above; the archive latch beside the rail holds shut." The room is darker than most. Three carvings run along the high frieze; three loose ornaments (a ring, a fork and a diamond) stand on keyways in a table rail below. Each ornament must be the same shape as the carving above its rail position and stand upright like it. A small dark plaque with one, two or three brass studs sits under each carving and on the worktop edge below each rail position: the same count marks the same place.

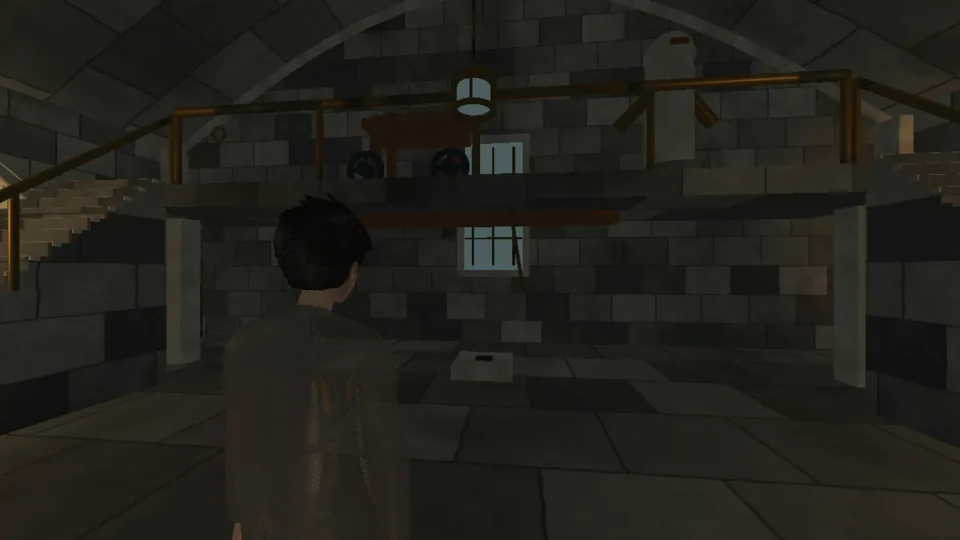 The sagging galleryThe gallery beam sags under its load; the far side is closed to readers.
Chapter 1, first upper floor. After the dark frieze, follow its east passage through the raised gate and climb the winding stair; the tall reading gallery is at the top. Solving it raises the gate signed "Shut until the sagging gallery is solved" on the long passage east to chapter 2's Teaching court and conservatory. The optional upper shelf (S21) opens off its west end.
"The gallery beam sags under its load; the far side is closed to readers." The Cart's card: "The laden cart stands on the cracked middle of the gallery beam, and its weight bows it; the sound pier to the near side would carry it." Walking the cracked middle while the cart is still on it overloads the beam.
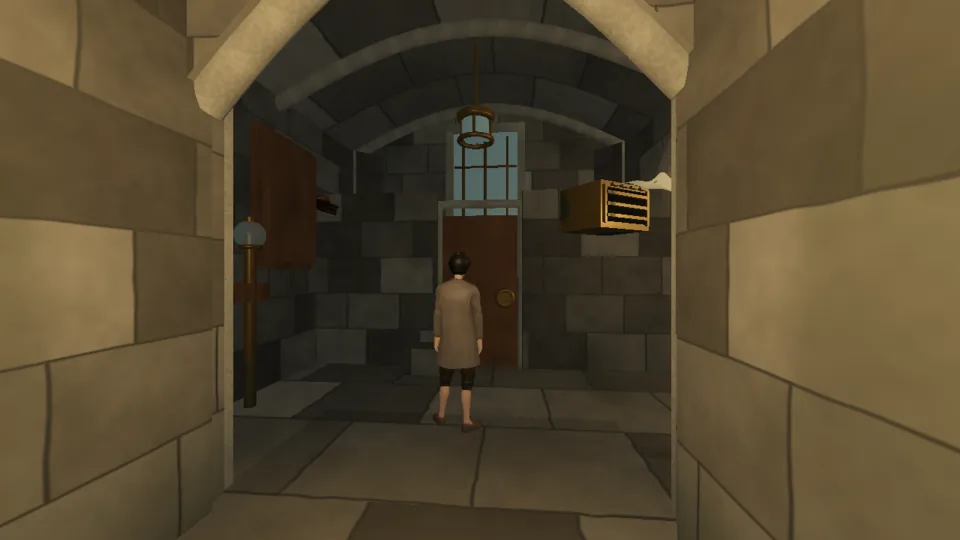 Vent antechamberThe vent door swings shut in the draft before anyone can pass.
Chapter 1, ground floor. Take the Entrance court's west arch; the Vent antechamber is the first room, and its south passage leads on to the Shelf passage. The vent door is a doorway in a partition inside the room, with a small landing behind it.
"The vent door swings shut in the draft before anyone can pass." The metal vent hood above and to the side of the door blows its draft straight down onto the door; the Hood's card says "Its breath blows straight down onto the door; the hood turns on a collar."
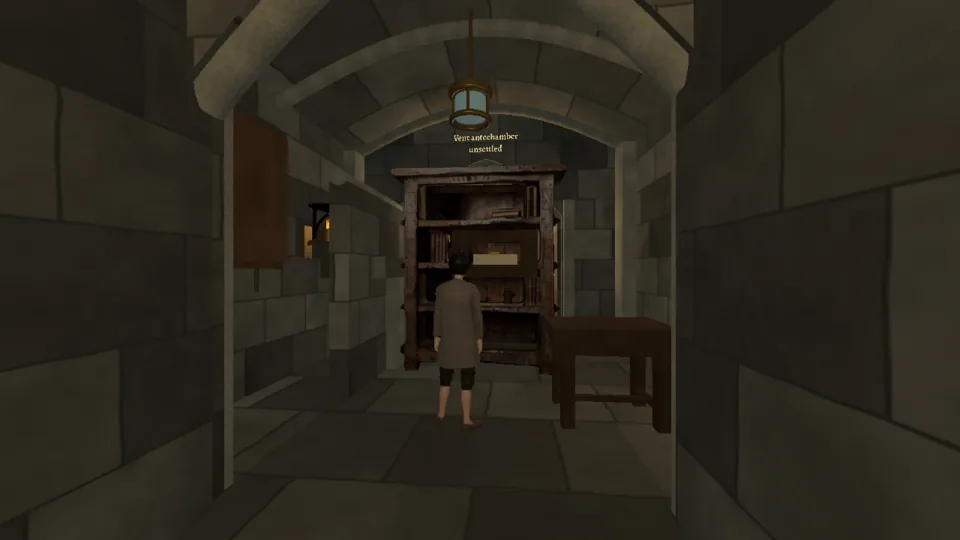 Shelf passageA sealed folio is trapped in its shelf slot; its receiving bench stands empty.
Chapter 1, ground floor, between the Vent antechamber (north) and the Silent refectory's west passage (south). From the Entrance court go west through the Vent antechamber and out its south passage. From the refectory it is the arch by the basin, once the Old buttery's seals have opened that passage's grille.
"A sealed folio is trapped in its shelf slot; its receiving bench stands empty." The Folio's card: "A sealed folio lies flat behind a slot narrower than its broad face; it would pass only edge-first."
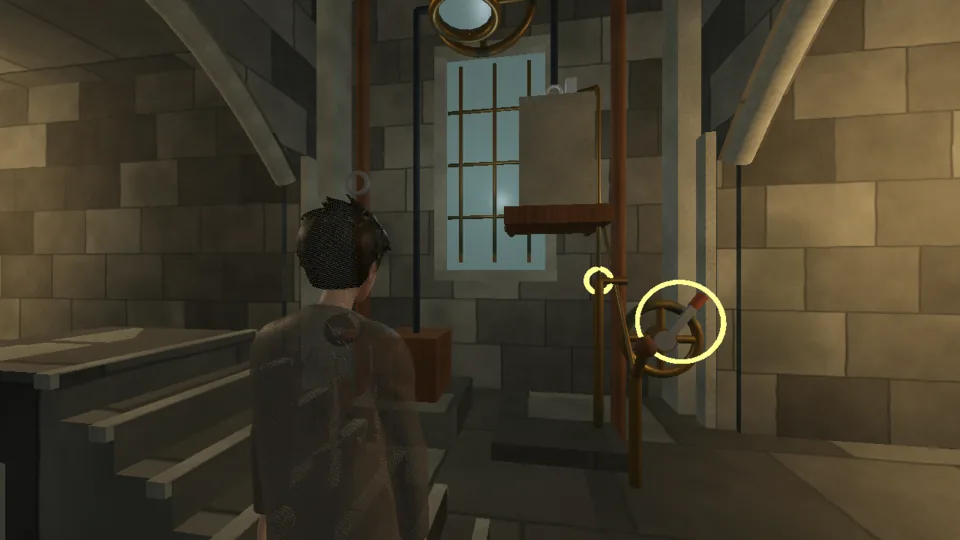 Counterweight repair roomThe supply dumbwaiter sits at the bottom; its counterweight rests on a shelf, off the car's line.
Chapter 1, ground floor. Take the Entrance court's east arch; this tall square room comes first, and its east passage leads on to the Bell chamber.
"The supply dumbwaiter sits at the bottom; its counterweight rests on a shelf, off the car's line." Here the room card shows the car's live condition instead, starting with "The supply dumbwaiter's car rests at the lower landing; the weight that should balance it rests on its shelf, off the line." The iron weight is heavier than the loaded car, but its broken eye hangs apart from the car's line.
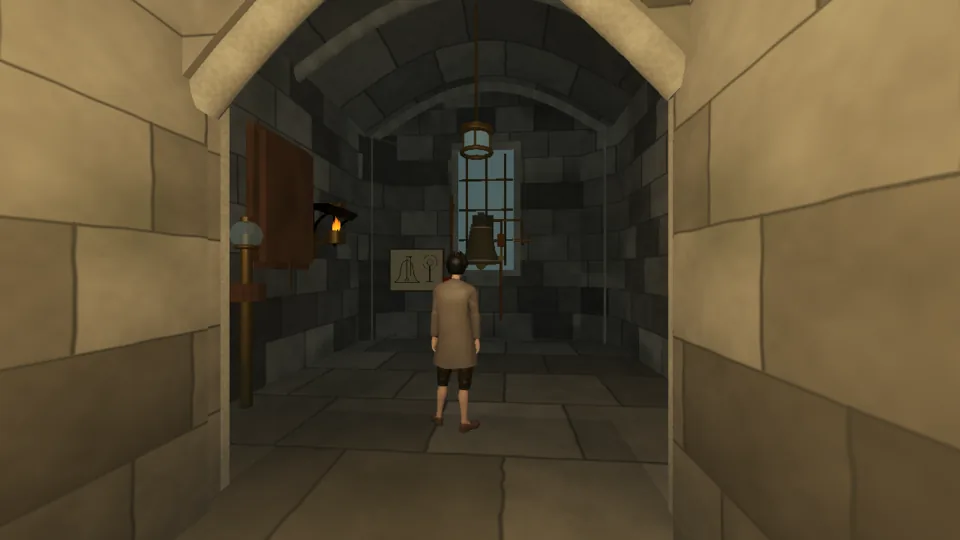 Bell chamberThe signal bell will not ring; its clapper sticks and the flag stays down.
Chapter 1, ground floor, a dead end. Go east from the Entrance court through the Counterweight repair room; the octagonal Bell chamber opens off the end of its passage.
"The signal bell will not ring; its clapper sticks and the flag stays down." The Bearing's card: "Old resin packs the clapper's pivot bearing, cold and set hard; warmed, it would run."
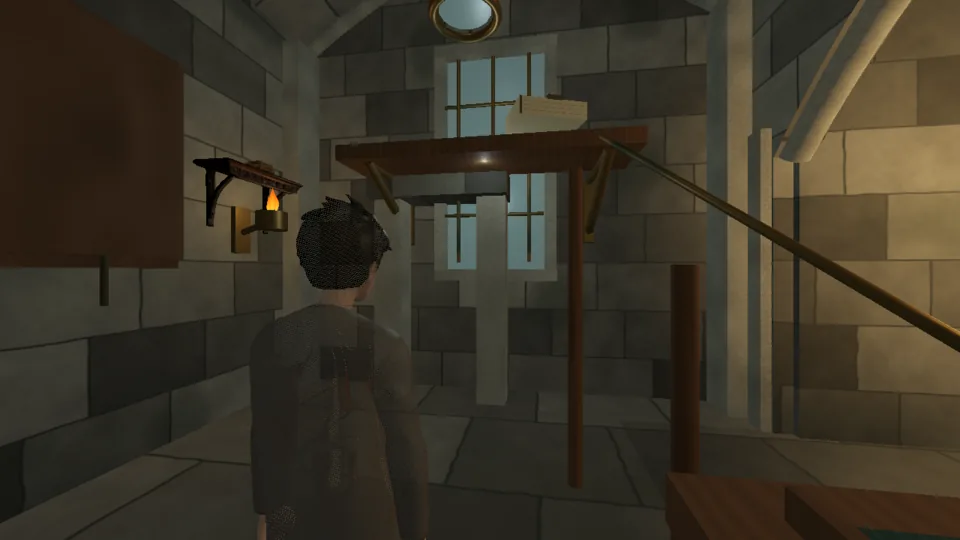 The upper shelfA student memento sits out of reach on the upper shelf.
Chapter 1, optional, first upper floor. It opens off the west end of the sagging gallery (R02), which you reach by the winding stair after the dark frieze. It gates nothing.
"A student memento sits out of reach on the upper shelf." The Folio's card: "The student's sealed memento sits on the sill of the upper shelf, above any reach; a clear ramp runs from that sill down to the desk tray."
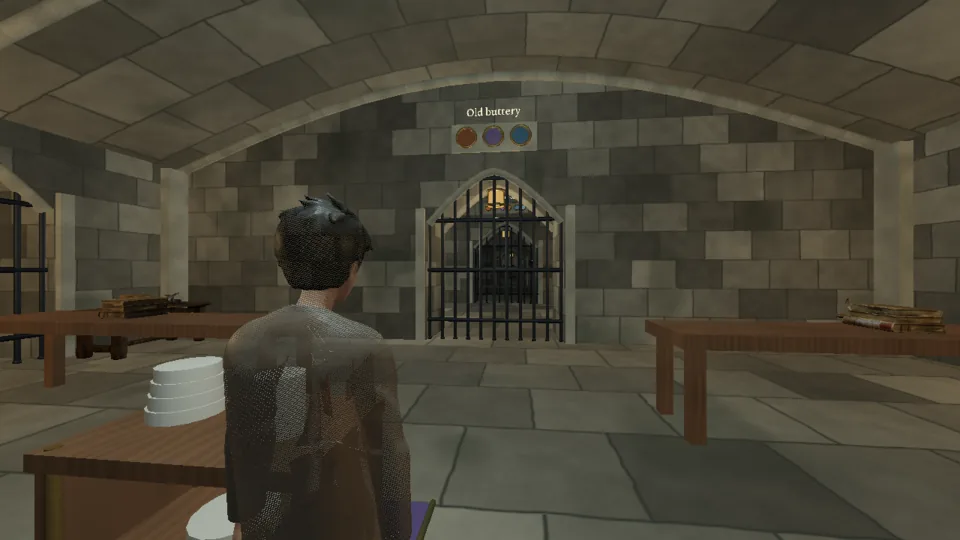 Silent refectoryWhere a new journey begins: three one-spell lessons that lift the refectory's ward grilles.
Ground floor, at the south end of the university. A new journey starts here. The arch facing the hearth leads north into the Old buttery and on to the Entrance court. The arch by the basin leads west toward the Shelf passage, through a second grille that answers the buttery's seals. These lessons are not among the 35 university rooms.
"The ward grilles are down. Restore the hearth, trolley and basin (0 of 3 lit)." Three seals over the door are dark: ember for Fire, violet for Will, blue for Water. Each matches the fitting in the room that wears its colour.
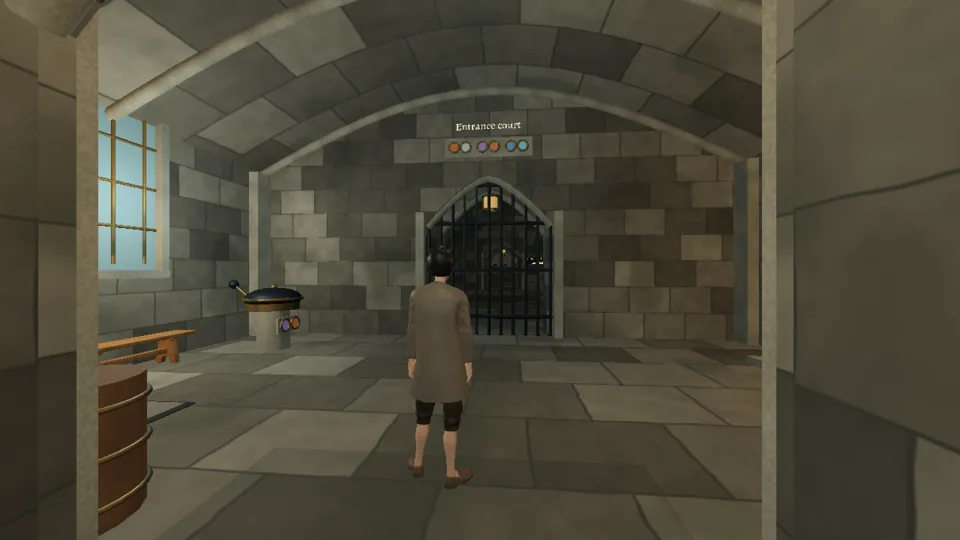 Old butteryThree fittings, two spells each: the starter puzzles between the refectory and the entrance court.
Ground floor, between the Silent refectory (south) and the Entrance court (north). Both ways on from the refectory depend on its seals. Its north grille opens to the Entrance court, and the same seals hang over the grille in the refectory's west passage toward the Shelf passage. These starters are not among the 35 university rooms.
"The ward grilles are down. Restore the hearth, brazier and flagstone (0 of 6 put right)." Each fitting needs two steps in order, and each wears a pair of seals that light left to right: the spit hearth ember then pale, the brazier violet then ember, the flagstone blue then frost.
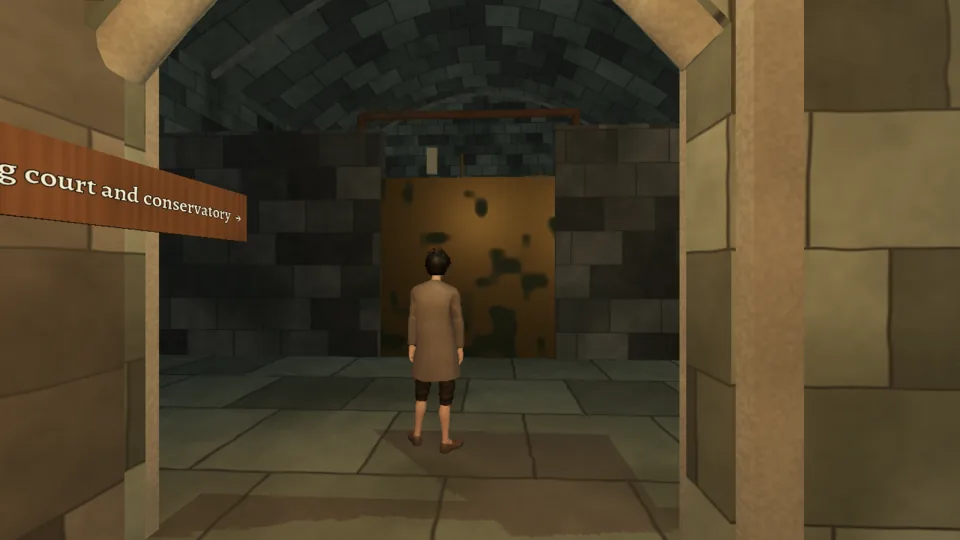 Teaching court and conservatoryA space with no puzzle of its own.
An open circulation and rest space preserves long views toward its portals; ordinary benches and work surfaces leave the central route clear.
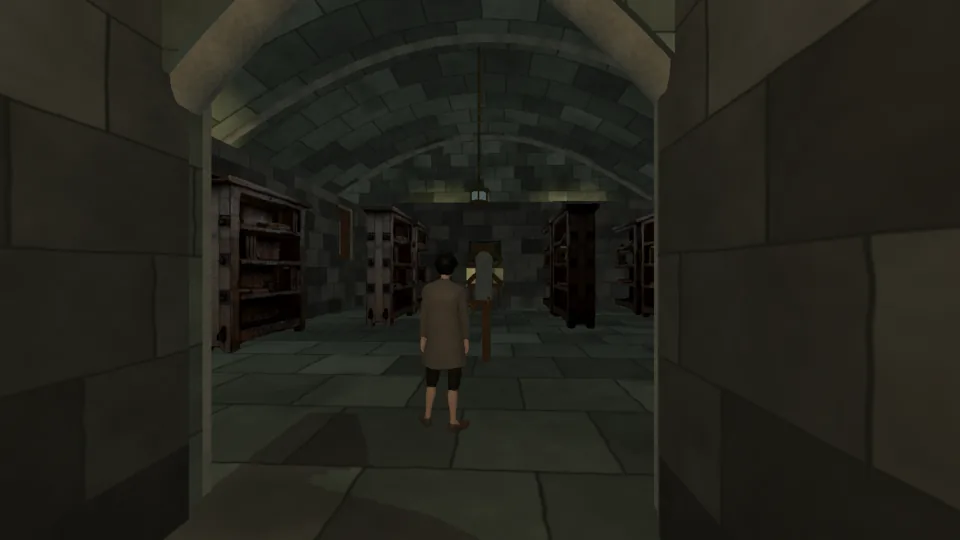 The whispering stacksThe sealed ledger must reach the exit stand; a listener patrols the stacks.
Chapter 2, first upper floor, through the Teaching court's north arch. A dead end. It plays no part in the enclosure gate, but it is one of chapter 2's required puzzles.
"The sealed ledger must reach the exit stand; a listener patrols the stacks." The listener starts its patrol beside the ledger's rolling shelf at the back of the room. It turns its dish toward any sound and walks there. A loose metal panel above the shelf rattles when the carrier is lifted.
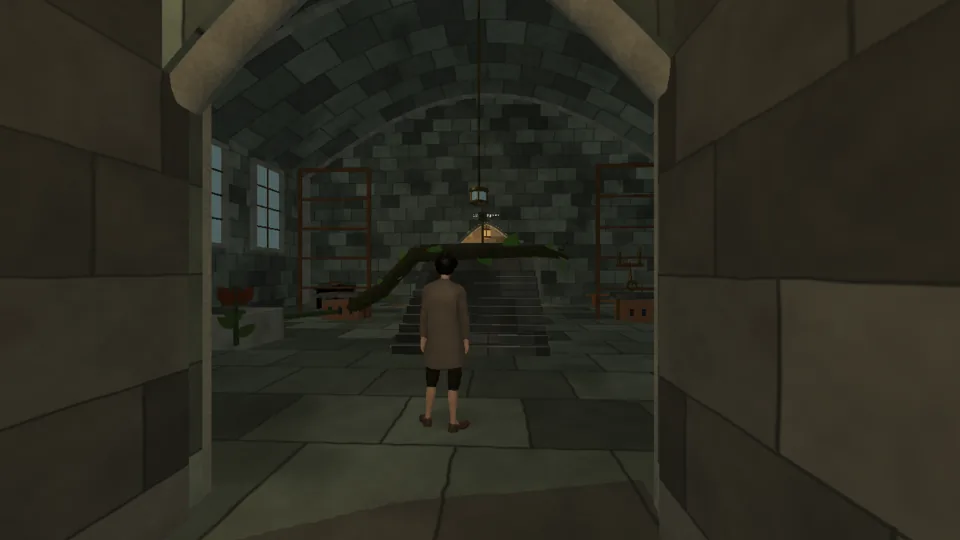 The warmth-seeking vineA bowed vine blocks the conservatory stair; the upper walk is out of reach.
Chapter 2, second upper floor. From the Teaching court and conservatory go through the enclosure gate on the court's south side and up the winding stair. The metal service enclosure gate across the Teaching court and conservatory blocks the way to the winding stair, and there is no way round it. It rises only while four things hold at once: the Projection workshop's lectern carriage stands at the stone bearing pad at the very end of its rail, which is farther than that room needs to settle; the Cable winding room's drum is wound taut; the Glazed inspection room's shutter stands open; and you have handled the enclosure handwheel, the metal ring on the raised landing at the enclosure. The Botanical stair vestibule is not itself one of the conditions, but while its living tread stands unfolded, matching living treads appear in the court and lead up to that landing. The other way up is Climbing growth (Will + Water + Water) cast on the enclosure masonry below the landing ("The finite masonry holds change the route to the enclosure actuator."). Handling the ring: "The handwheel loads the enclosure cable against its carriage clearance and keeper." It stays loaded, so the order does not matter. Once the last condition is met the gate rises over about five seconds, and a pawl then holds it up for good. The whispering stacks play no part in it. Solving this room raises the gate signed "Shut until the warmth-seeking vine is solved" on the passage east to chapter 3's Workshop and observatory. The optional smoke portrait (S22) opens off its east side.
"A bowed vine blocks the conservatory stair; the upper walk is out of reach." The Stem's card: "It bows across the stair from the old arch; the empty outer trellis is out of its reach." The Far shoe's card: "A cold ceramic root-warming shoe under the empty outer trellis; old tie marks show the vine once grew there."
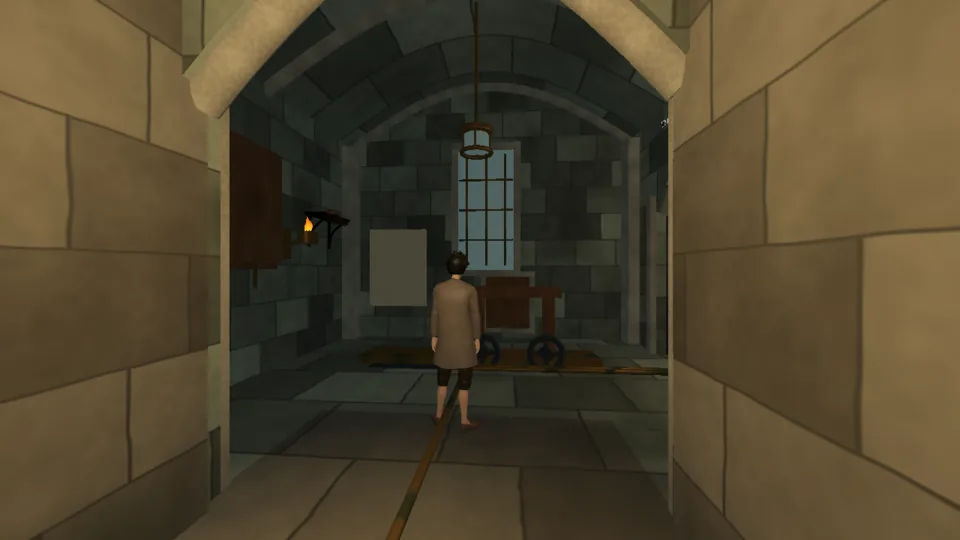 Projection workshopThe teaching lectern rolls back across the service hatch.
Chapter 2, first upper floor. Take the Teaching court and conservatory's west arch; the workshop is the first room, and its south passage leads on to the Cable winding room. Where its carriage is left matters to the court's enclosure gate (see watch).
"The teaching lectern rolls back across the service hatch." The Carriage's card: "The roller lectern sits at the foot of its sloping rail, across the service hatch; left free, it rolls back down to there." The Strip's card: "A stone strip under the brake shoe, glazed smooth with wear; a shoe dragging on it barely slows."
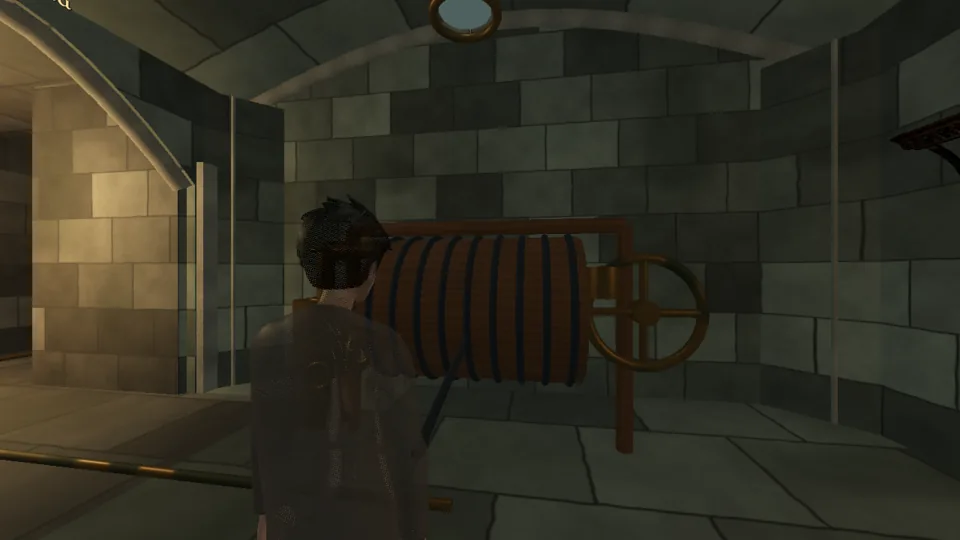 Cable winding roomThe enclosure lift cable hangs slack on its winding drum.
Chapter 2, first upper floor, a dead end. Go through the Projection workshop (west of the Teaching court) and down its south passage. Its wound cable is one of the enclosure gate's conditions.
"The enclosure lift cable hangs slack on its winding drum." The Guide's card: "The flared guide stands crosswise to the cable; a peened tooth marks the notch it should sit in."
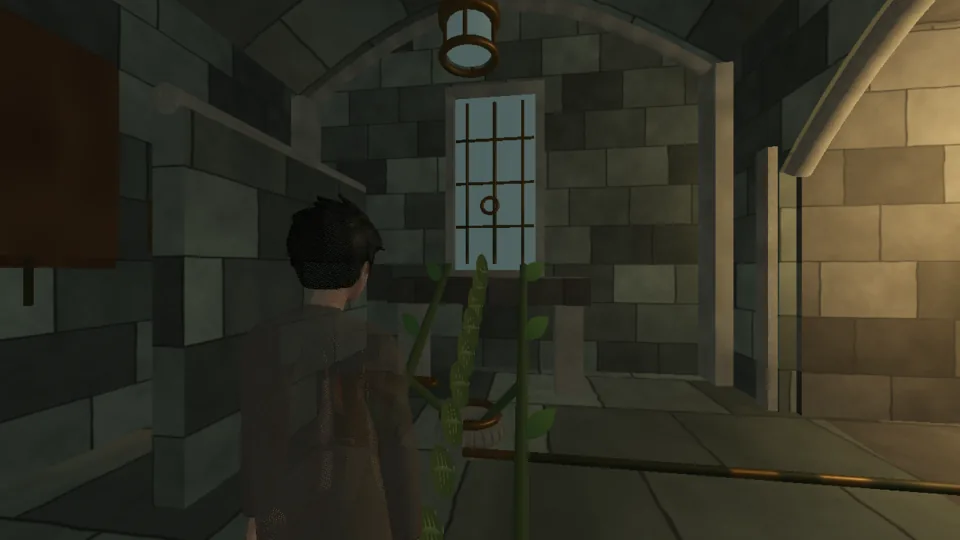 Botanical stair vestibuleThe living stair tread is folded shut; the upper landing is out of reach.
Chapter 2, first upper floor, a dead end. Take the Teaching court's east arch into the Glazed inspection room and follow its south passage. This room is not one of the enclosure gate's conditions, but its open tread also raises the living access treads in the court that lead up to the enclosure handwheel. The metal service enclosure gate across the Teaching court and conservatory blocks the way to the winding stair, and there is no way round it. It rises only while four things hold at once: the Projection workshop's lectern carriage stands at the stone bearing pad at the very end of its rail, which is farther than that room needs to settle; the Cable winding room's drum is wound taut; the Glazed inspection room's shutter stands open; and you have handled the enclosure handwheel, the metal ring on the raised landing at the enclosure. The Botanical stair vestibule is not itself one of the conditions, but while its living tread stands unfolded, matching living treads appear in the court and lead up to that landing. The other way up is Climbing growth (Will + Water + Water) cast on the enclosure masonry below the landing ("The finite masonry holds change the route to the enclosure actuator."). Handling the ring: "The handwheel loads the enclosure cable against its carriage clearance and keeper." It stays loaded, so the order does not matter. Once the last condition is met the gate rises over about five seconds, and a pawl then holds it up for good. The whispering stacks play no part in it.
"The living stair tread is folded shut; the upper landing is out of reach." The Root's card: "The cup is dry, and the living joint above it is parched and folded shut." The Return latch is on the landing, above standing reach from the floor.
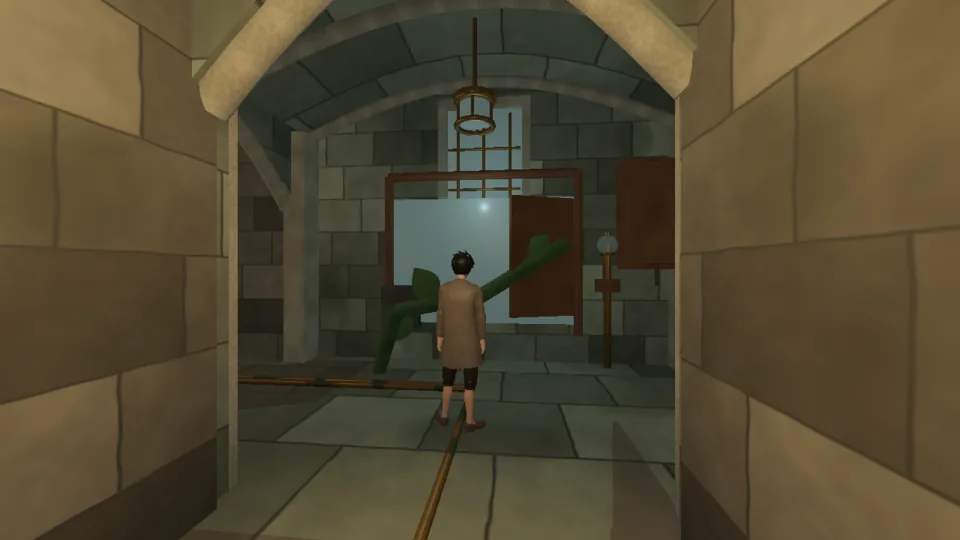 Glazed inspection roomVine growth fouls the inspection shutter; the sightline stays blocked.
Chapter 2, first upper floor, through the Teaching court's east arch. Its south passage continues to the Botanical stair vestibule. The open shutter is one of the enclosure gate's conditions.
"Vine growth fouls the inspection shutter; the sightline stays blocked." The Vine's card: "Its leaves are threaded through the shutter's eye; the far end of the branch flexes, but the rooted stem holds the rest taut."
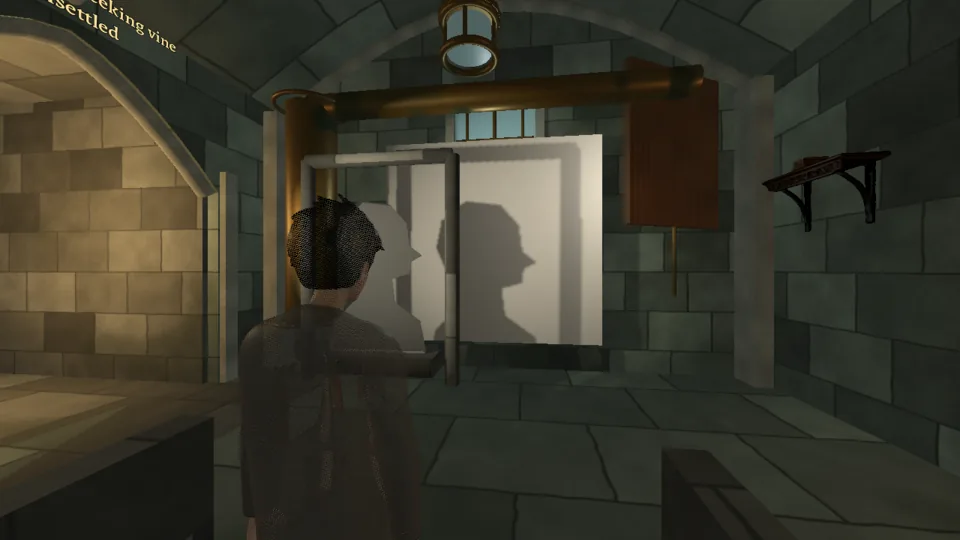 The smoke portraitWindow glare washes out the memorial silhouette on the pale wall.
Chapter 2, optional, second upper floor. It opens off the east side of the warmth-seeking vine's conservatory (R04), so you can reach it only once the court's enclosure gate is up. It gates nothing.
"Window glare washes out the memorial silhouette on the pale wall." A patterned stone screen stands in a narrow, steady beam that throws its silhouette on the wall, and a high window floods the same wall with broad light. The Shutter's card: "The shutter stands open; the high window's broad light floods the pale wall."
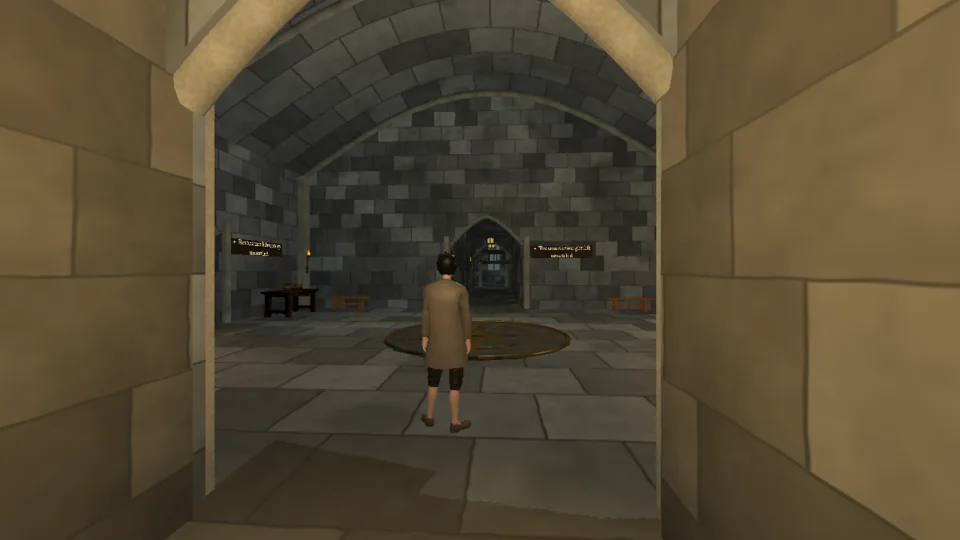 Workshop and observatoryA space with no puzzle of its own.
An open circulation and rest space preserves long views toward its portals; ordinary benches and work surfaces leave the central route clear.
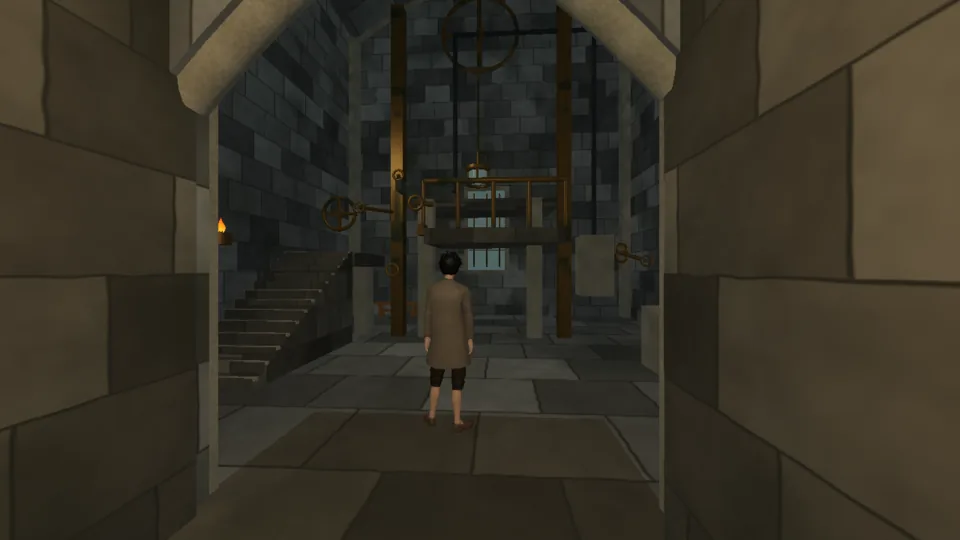 The counterweight liftThe lift car hangs below the upper landing; the landing gate stays shut.
Chapter 3, second upper floor. The north doorway of the Workshop and observatory hub. Solving it raises the service gate in the passage to the stair up to the stalled orrery.
"The lift car hangs below the upper landing; the landing gate stays shut." The car (140 kg) outweighs its counterweight (100 kg) across the sheave, hangs askew, and a spring brake holds the shaft. A service stair rises to a 2 m maintenance platform beside the shaft.
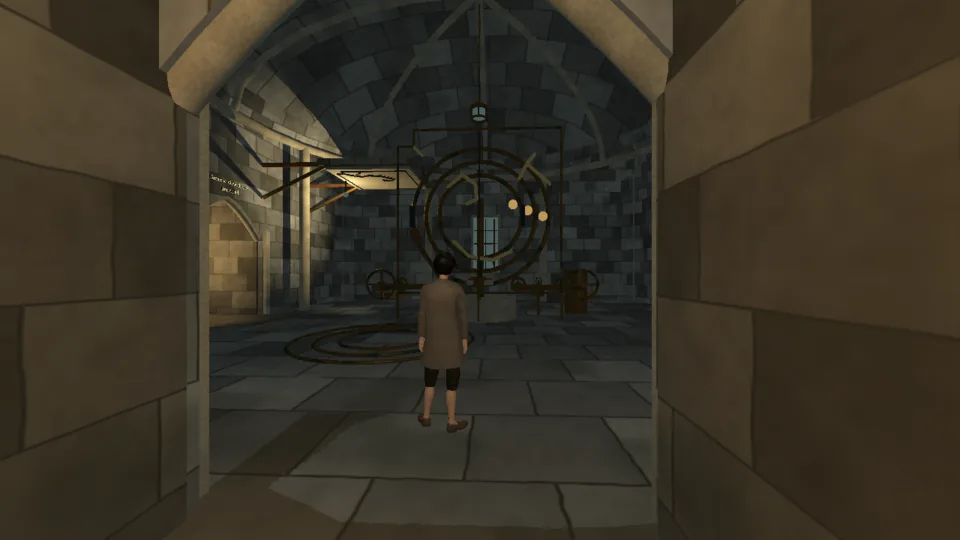 The stalled orreryThe orrery rings stand out of true, so the locking bar cannot pass through them.
Chapter 3, third upper floor, in the dome at the top of the winding stair past the counterweight lift. Its west door leads to the Reverse-view alcove, its east door to the Lens-cleaning room. Solving it raises the service gate east of the Lens-cleaning room, toward chapter 4.
"The orrery rings stand out of true, so the locking bar cannot pass through them." A brass strap couples the outer and middle rings to one drive sleeve, so they turn together. Each ring must reach a different detent: outer 1, middle 2, inner 3. The room is dim.
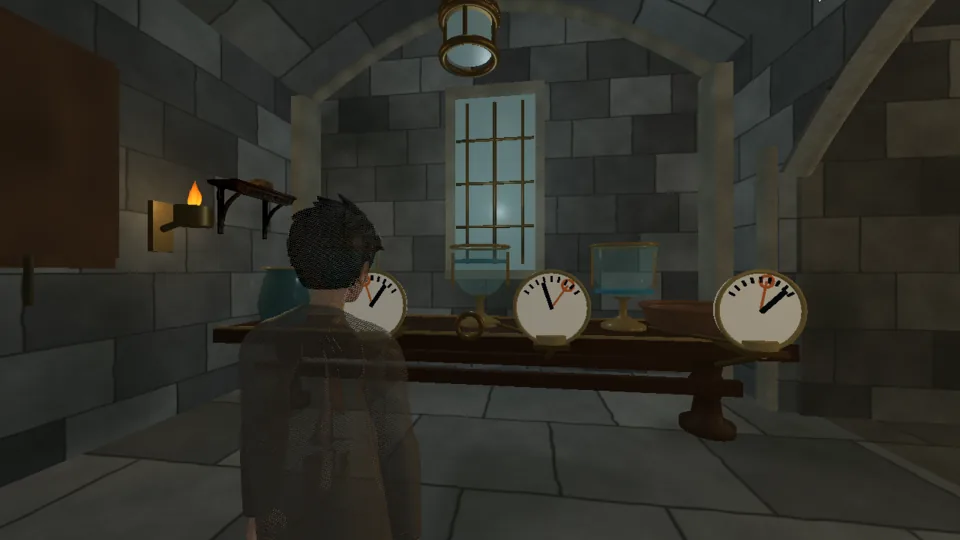 Resonance laboratoryThe goblets ring out of tune with the reference reeds.
Chapter 3, second upper floor. The west doorway of the Workshop and observatory hub, which you reach from the warmth-seeking vine once chapter 2 is done.
"The goblets ring out of tune with the reference reeds." Each goblet has a gauge beside it: a dark reed that moves with the water level, and a fixed reference reed with an open loop at its tip.
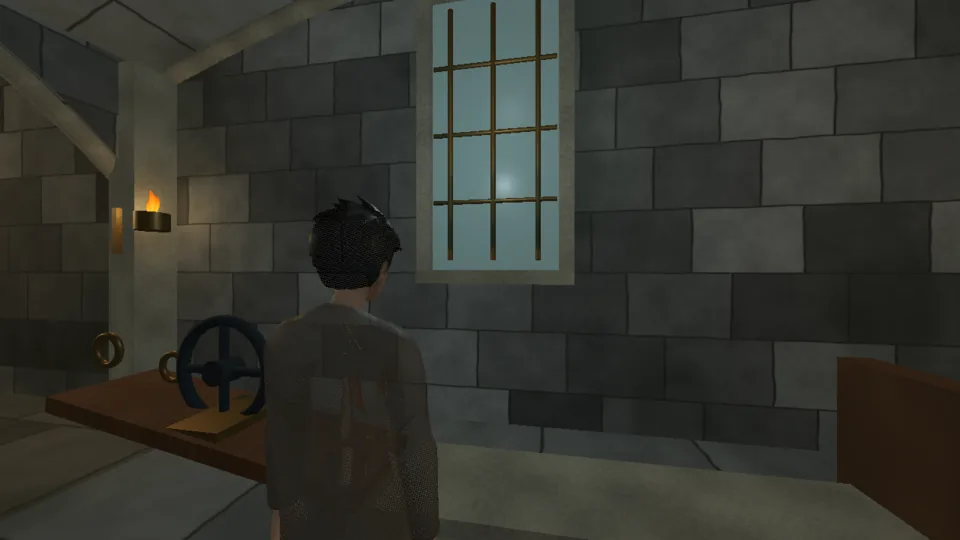 Striker test laneThe striker roller overshoots its cradle and slams into the end stop.
Chapter 3, second upper floor. The east doorway of the Workshop and observatory hub.
"The striker roller overshoots its cradle and slams into the end stop." The roller and its loaded skid sit on a slope at the launch catch; below it a smooth floor strip runs through the cradle to a timber backstop.
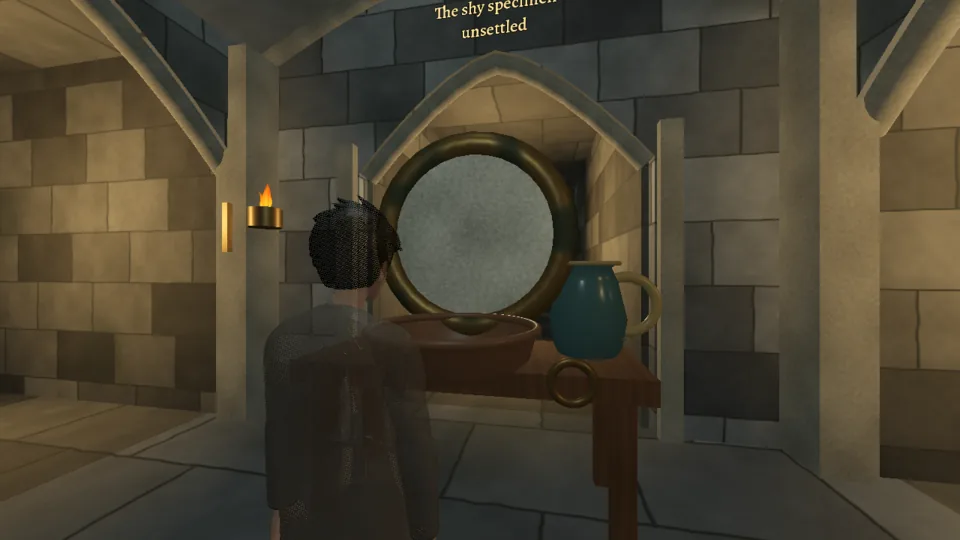 Lens-cleaning roomChalk clouds the observing lens; the reference instrument cannot be seen.
Chapter 3, third upper floor. Through the east doorway of the stalled orrery. Its north door leads to the optional shy specimen.
"Chalk clouds the observing lens; the reference instrument cannot be seen." The glass beneath is sound. Only its edge can be reached by hand.
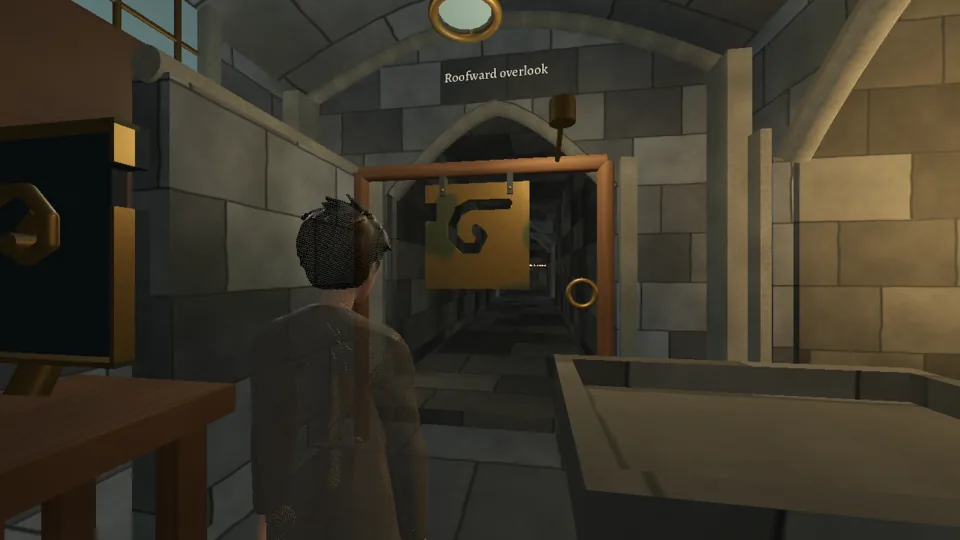 Reverse-view alcoveThe marker ornament breaks the plate's border line; its latch stays shut.
Chapter 3, third upper floor. Through the west doorway of the stalled orrery. Its north door leads to the Roofward overlook.
"The marker ornament breaks the plate's border line; its latch stays shut." The ornament's curl should continue the plate's notched border. A rear inspection walk lets you see the plate from behind.
 The shy specimenThe shy specimen hides from visitors; its perch behavior is unrecorded.
Chapter 3, third upper floor. Optional room north of the Lens-cleaning room; it also connects round through the Roofward overlook to the Reverse-view alcove.
"The shy specimen hides from visitors; its perch behavior is unrecorded." The creature keeps to a shelter by the near (visitor) perch. It ventures out to the far perch only now and then, and retreats whenever anyone is within 2.5 m. Its look is a placeholder; what matters is how it behaves.
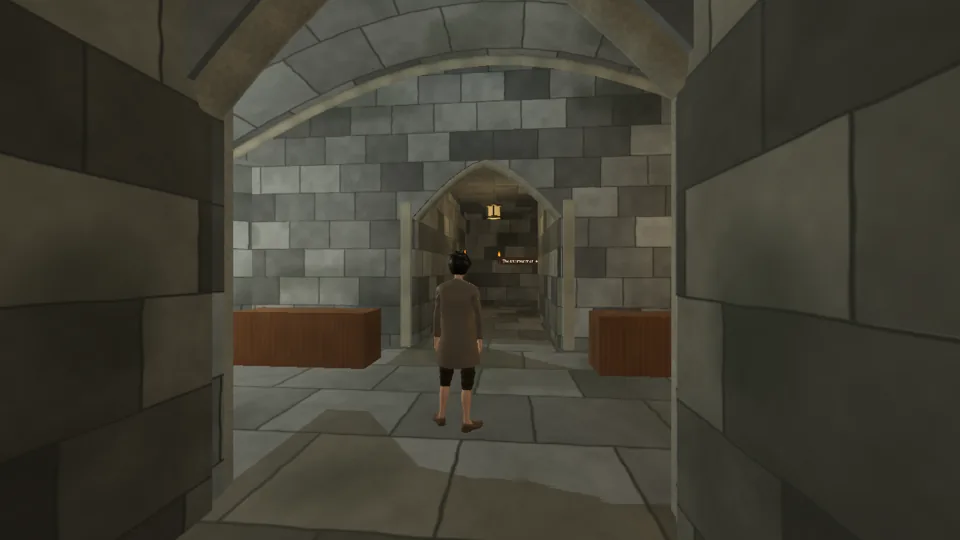 Roofward overlookA space with no puzzle of its own.
An open circulation and rest space preserves long views toward its portals; ordinary benches and work surfaces leave the central route clear.
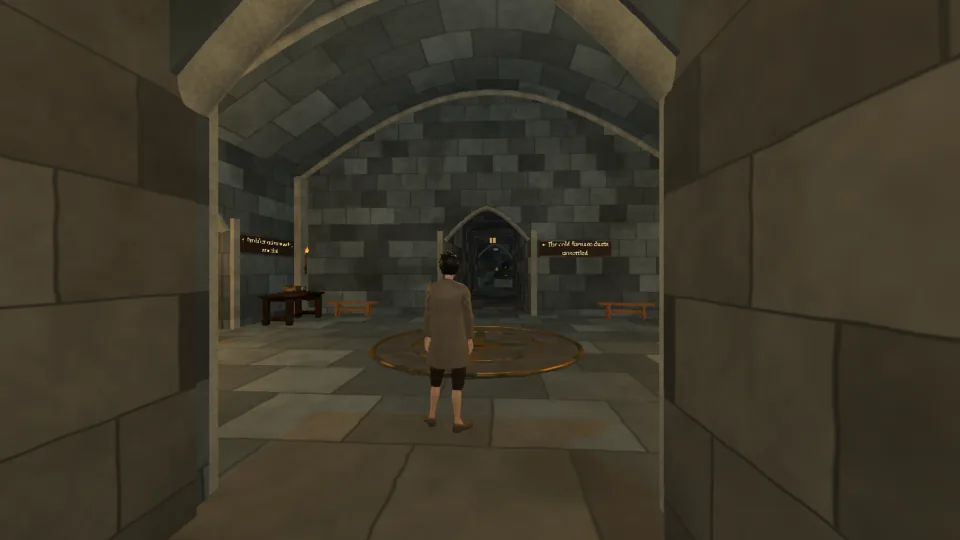 Service galleries and reservoirA space with no puzzle of its own.
An open circulation and rest space preserves long views toward its portals; ordinary benches and work surfaces leave the central route clear.
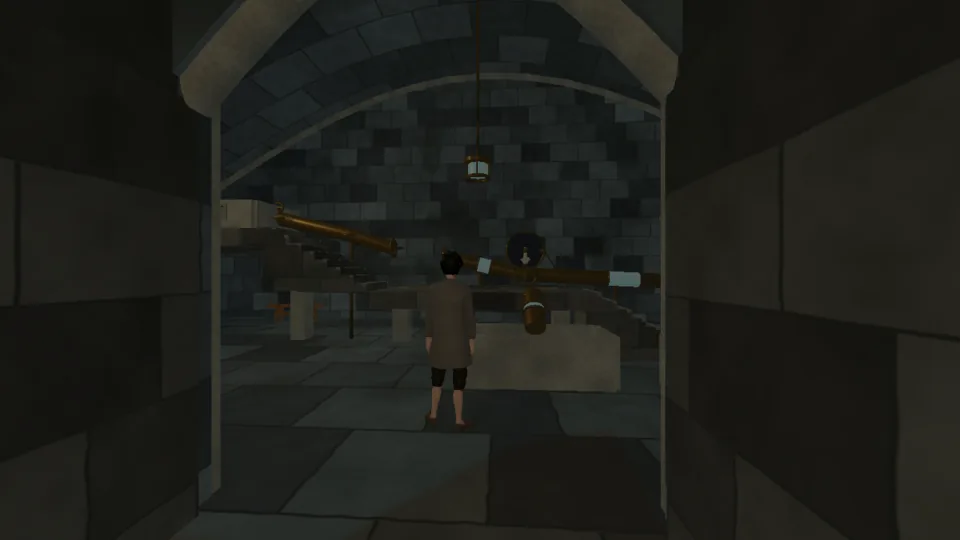 The cold furnace ductsFrost binds the archive door latch; the service door will not open.
Chapter 4, third upper floor. The north doorway of the Service galleries and reservoir hub.
"Frost binds the archive door latch; the service door will not open." Ice binds the latch inside a cold metal jacket. A reservoir of cold water sits high on the upper terrace. Its descending tube is broken, and its branch valve sends water to an unused wash basin.
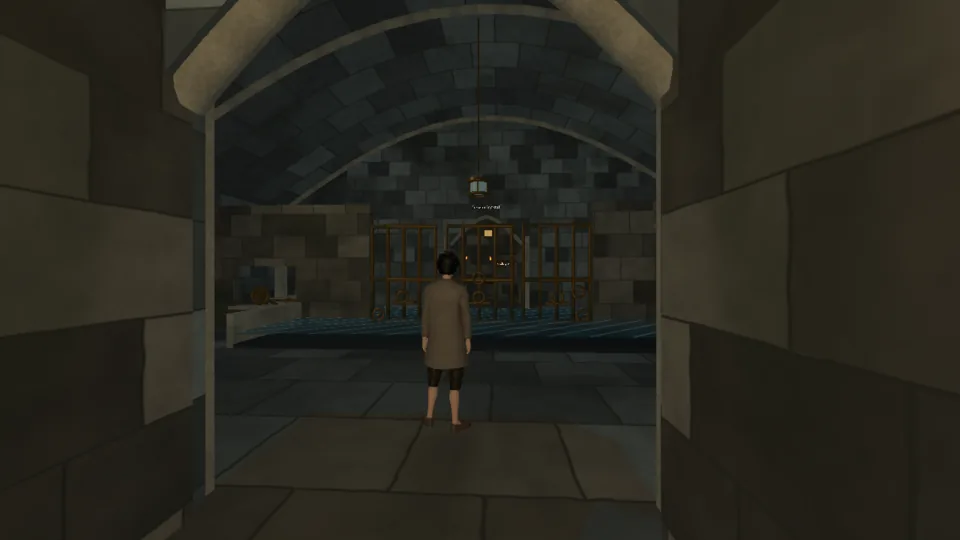 The drowned hallA fallen framework blocks the drowned hall's only service passage.
Chapter 4, lower level. Take the stair tower south of the Service galleries and reservoir hub all the way down. The cleared passage leads to the stair down to chapter 5 and to the optional broken balcony.
"A fallen framework blocks the drowned hall's only service passage." The frame lies across the passage in a shallow basin of water (14,000 L). It is far too heavy to lift. Its lifting eyes line up with marks above a dry side cradle, and thin brass straps join its three grille panels.
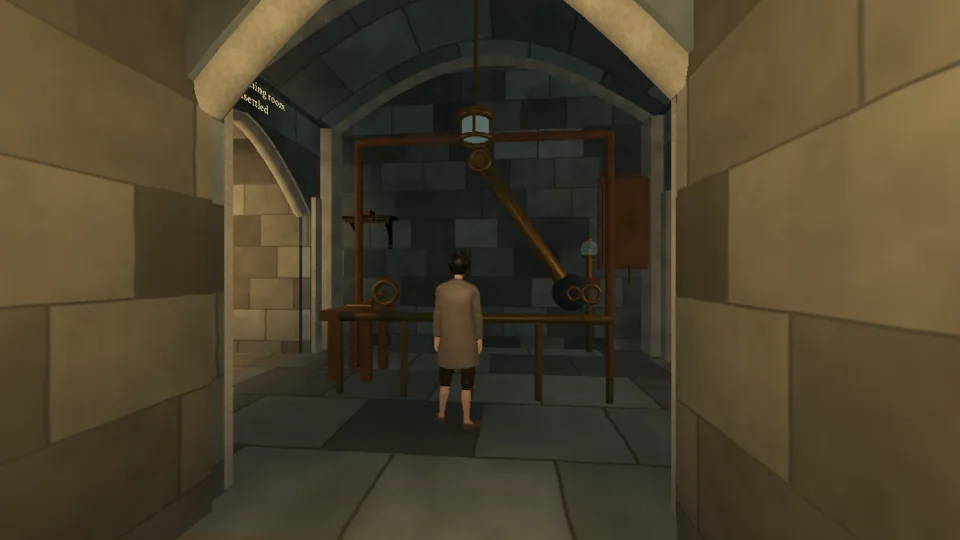 Pendulum maintenance bayThe pendulum arm swings free; its retaining pin stands out of its seat.
Chapter 4, third upper floor. The first room past the service gate east of the Lens-cleaning room, which opens once the stalled orrery is solved. Its east door leads to the Service galleries and reservoir hub, its south door to the Water-junction room.
"The pendulum arm swings free; its retaining pin stands out of its seat." The arm swings slowly from side to side, about 11–12 seconds per full swing. Only at the bracket end of each swing do the arm's pin hole and the bracket's line up, and only for a moment.
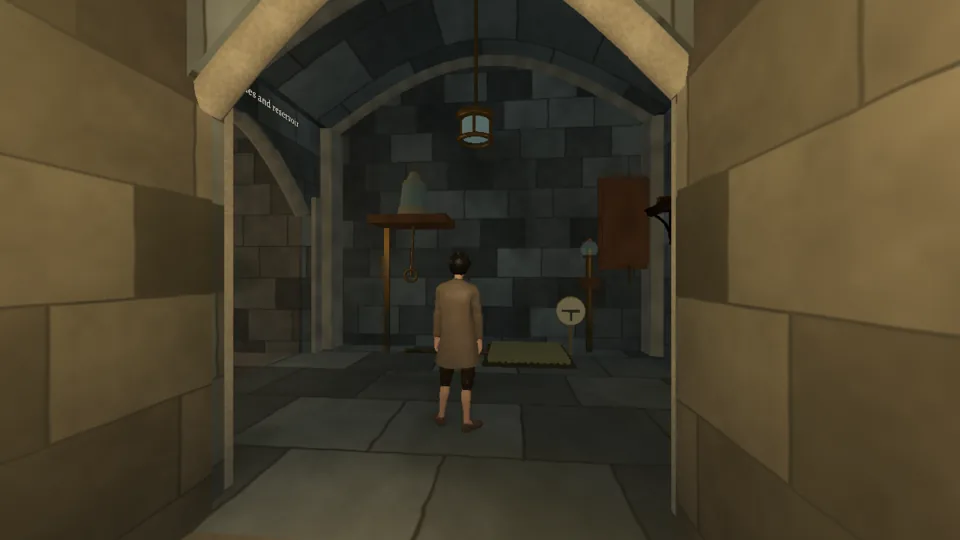 Receiving shaft roomThe ceramic master sits high on its shelf; it must reach the receiving pad below unbroken.
Chapter 4, third upper floor. The east doorway of the Service galleries and reservoir hub. Its south door leads to the Float test basin.
"The ceramic master sits high on its shelf; it must reach the receiving pad below unbroken." Opened, the shelf drops the master 2.35 m straight onto a hard floor, about 6.8 m/s. The receiving pad sits on a floor rail, away from the drop line, and its top is hard too.
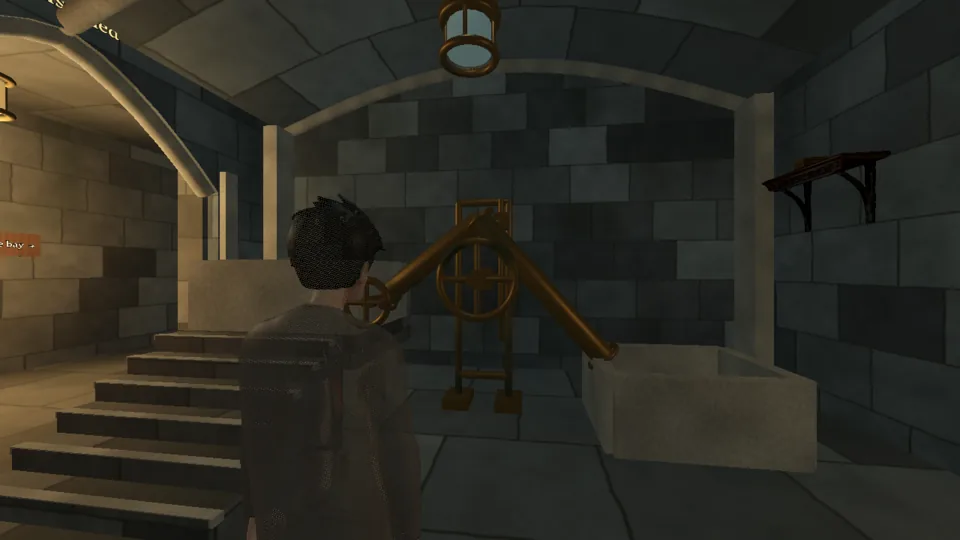 Water-junction roomNo water reaches the junction's receiver; the service channel runs dry.
Chapter 4, third upper floor. South of the Pendulum maintenance bay.
"No water reaches the junction's receiver; the service channel runs dry." The pipe's elbow bends up higher than the source water can climb, so nothing gets past the crest even with the stop open.
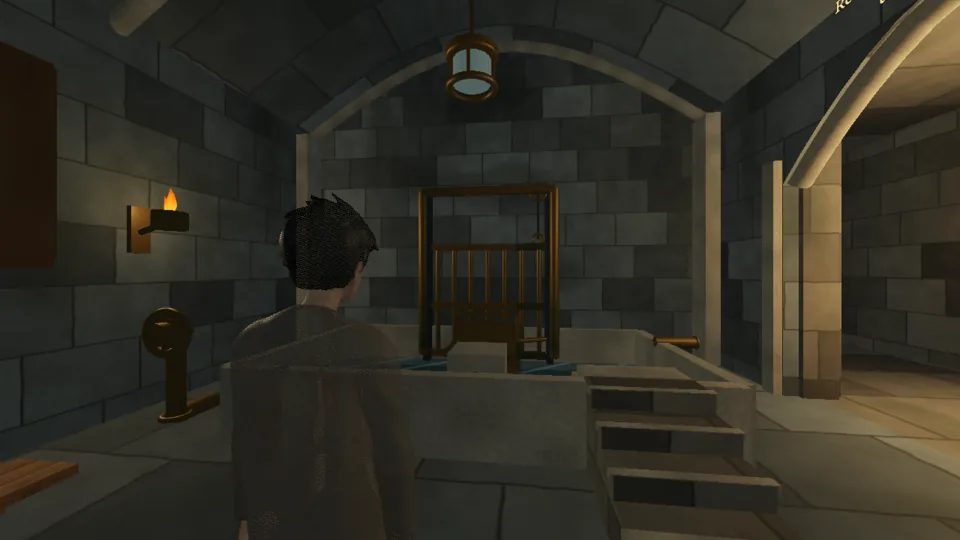 Float test basinThe gate stop lies in the basin, below its empty socket.
Chapter 4, third upper floor. South of the Receiving shaft room.
"The gate stop lies in the basin, below its empty socket." The 400 kg stop lies on the basin floor in shallow water (2000 L). The socket above is entered sideways along a guide, so the stop must first reach its height.
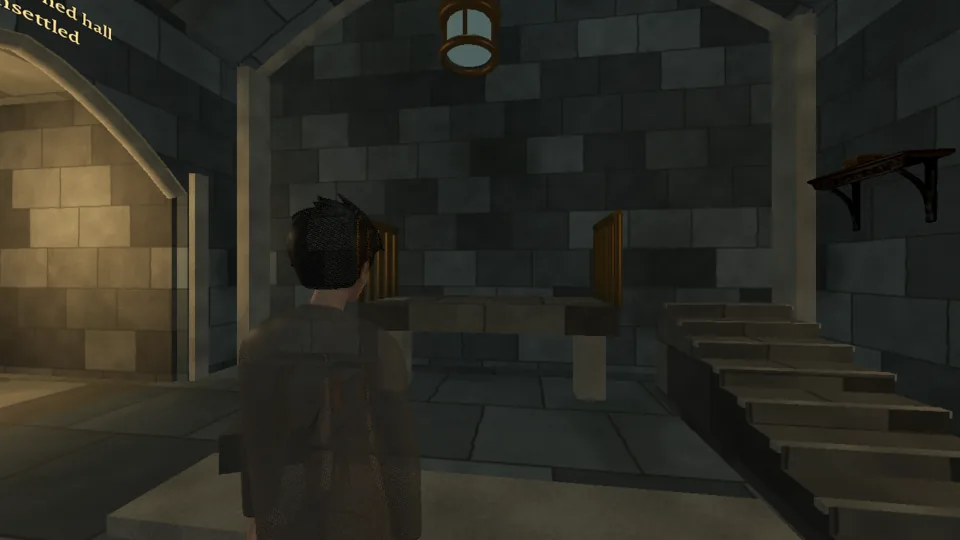 The broken balconyThe balcony walkway is broken; the far outlook landing cannot be reached.
Chapter 4, lower level. Optional room off the east side of the drowned hall, beyond the fallen framework, so you reach it once that passage is clear.
"The balcony walkway is broken; the far outlook landing cannot be reached." Two metres of walkway are gone, and the far landing stands about 1.2 m higher across the gap. A side stair with handrails stands to one side. Falling in is not dangerous.
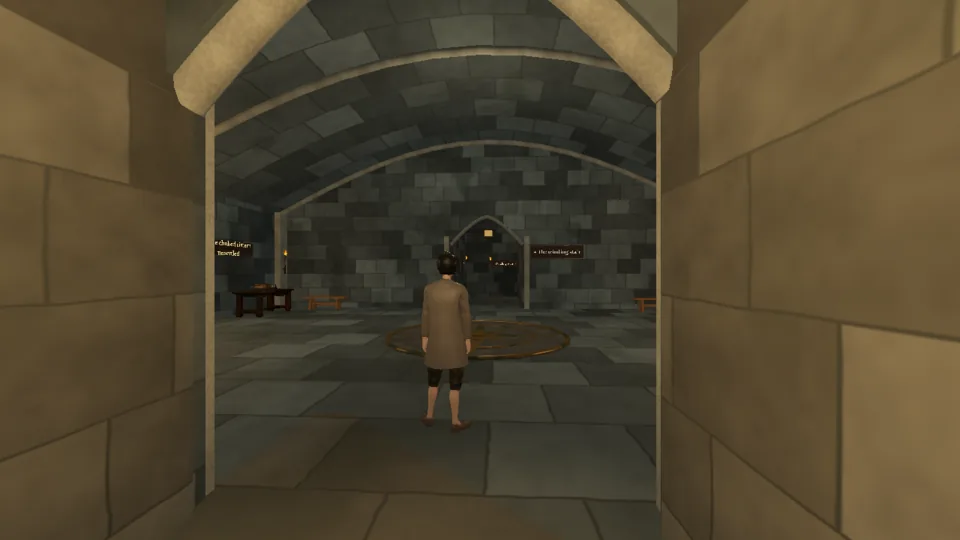 Deep protection complexA space with no puzzle of its own.
An open circulation and rest space preserves long views toward its portals; ordinary benches and work surfaces leave the central route clear.
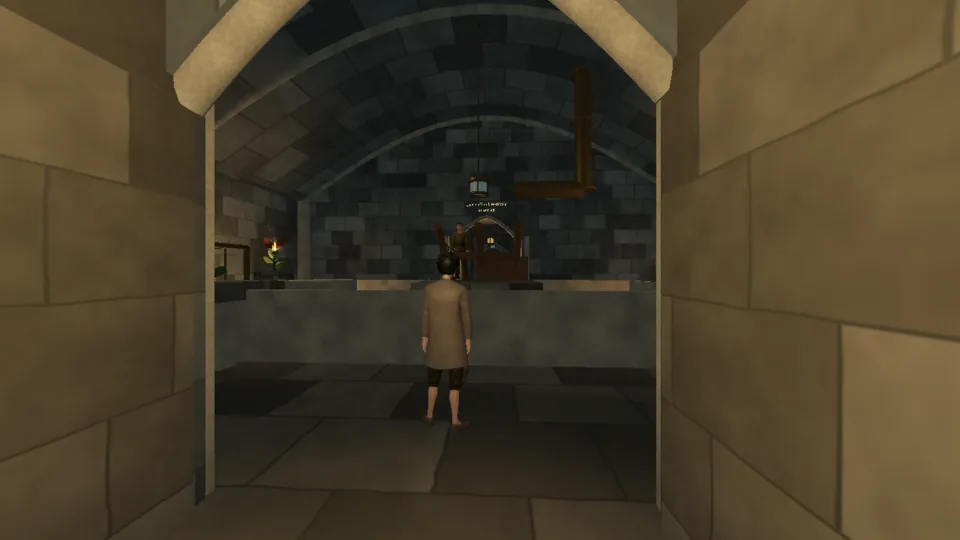 The choked cisternA student is trapped behind the cistern trellis, cut off from the entrance.
Chapter 5, on the lowest floor, off the Deep protection complex hall through the arch signed The choked cistern. The thermal latch vestibule and the drip-ladder passage open off it. Reach chapter 5 from the drowned hall (chapter 4): once its framework is cleared, the passage beyond leads to a winding stair down to the Deep protection complex.
Room card: "A student is trapped behind the cistern trellis, cut off from the entrance." A heavy hinged trellis has fallen across the refuge on the island. Two fire blossoms burn by the walls, and each has a sensor piped to a flood inlet above the basin. The moment you step into the room, the inlet starts pouring in water.
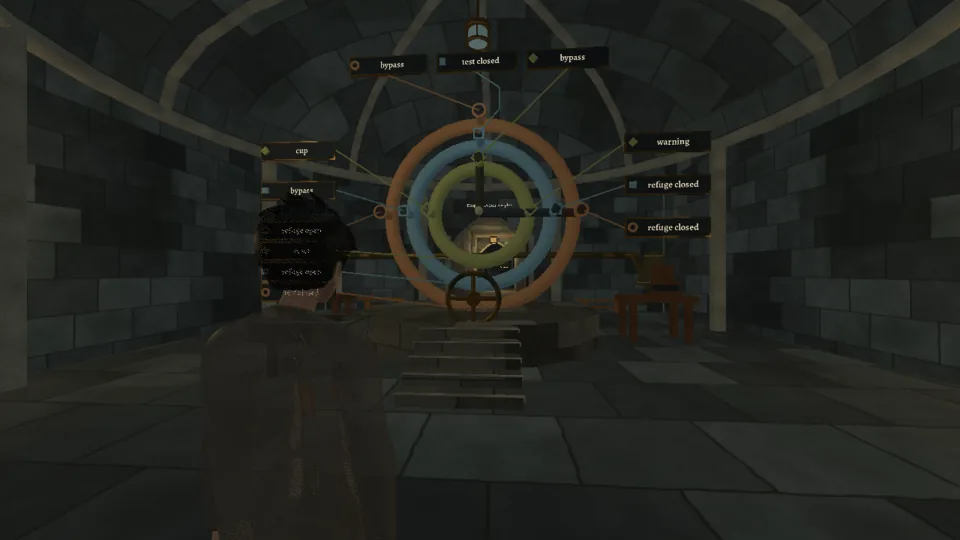 The ward registerThe ward register keeps the occupied refuge sealed; no one inside can leave.
Chapter 5, on the lowest floor, off the Deep protection complex hall through the arch signed The ward register.
Room card: "The ward register keeps the occupied refuge sealed; no one inside can leave." Three concentric selector rings each turn a routing elbow to one of four outlets. The outer ring routes the occupancy channel, the middle ring the heat-test channel and the inner ring the shared warning return. Two hand bellows in the side test bays prove a routing before the release catch will take it.
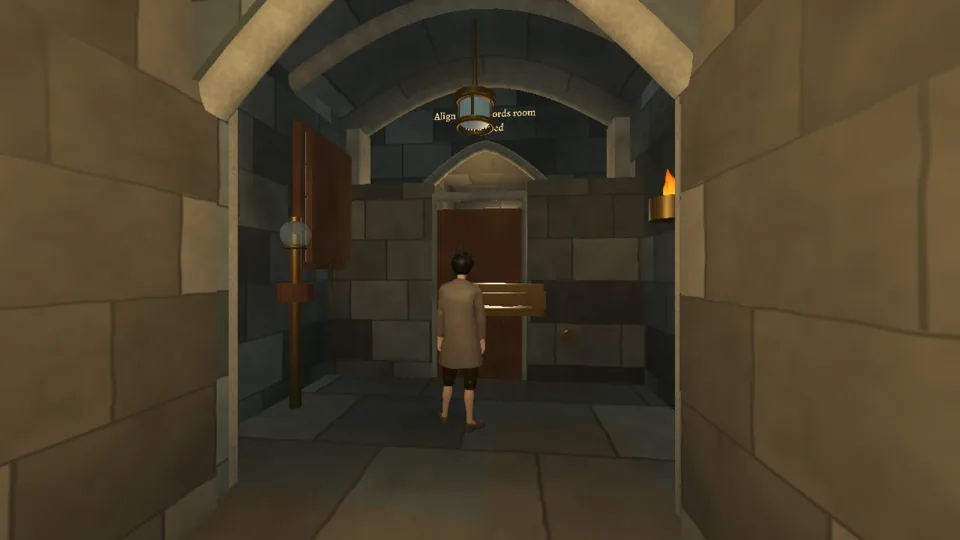 Thermal latch vestibuleThe service door's latch binds hot in its frame; the door stays shut.
Chapter 5, on the lowest floor. It opens off the choked cistern through the arch signed Thermal latch vestibule; a long passage also links it to the alignment records room.
Room card: "The service door's latch binds hot in its frame; the door stays shut." The brass latch is hot and swollen and binds at its middle against the cooler frame, and a failed heat branch keeps feeding it.
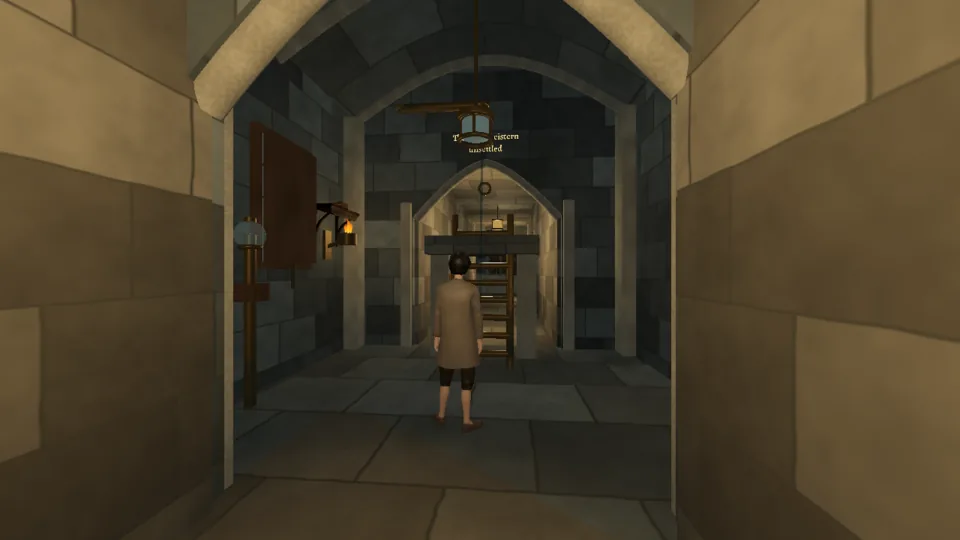 Drip-ladder passageWater drips across the ladder rungs; the valve landing is out of reach.
Chapter 5, on the lowest floor. It opens off the choked cistern through the arch signed Drip-ladder passage, and leads on to the optional sealed keepsake.
Room card: "Water drips across the ladder rungs; the valve landing is out of reach." The collector above drips onto the smooth rungs, and the return stair's latch sits on the landing at the top.
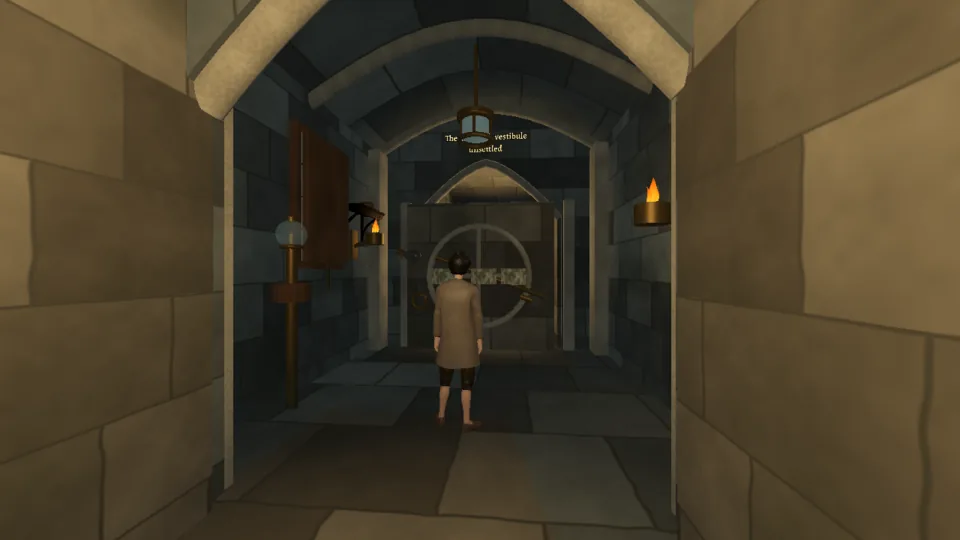 Alignment records roomDust buries the override wheel's seam; the bypass latch stays shut.
Chapter 5, on the lowest floor. Reach it from the Deep protection complex hall along the passage that also serves the door service antechamber, or by the long passage from the thermal latch vestibule.
Room card: "Dust buries the override wheel's seam; the bypass latch stays shut." The bypass latch is held by an offset cam on the wheel's axle, and the metal seam that shows the wheel's correct position is buried under dry mineral dust.
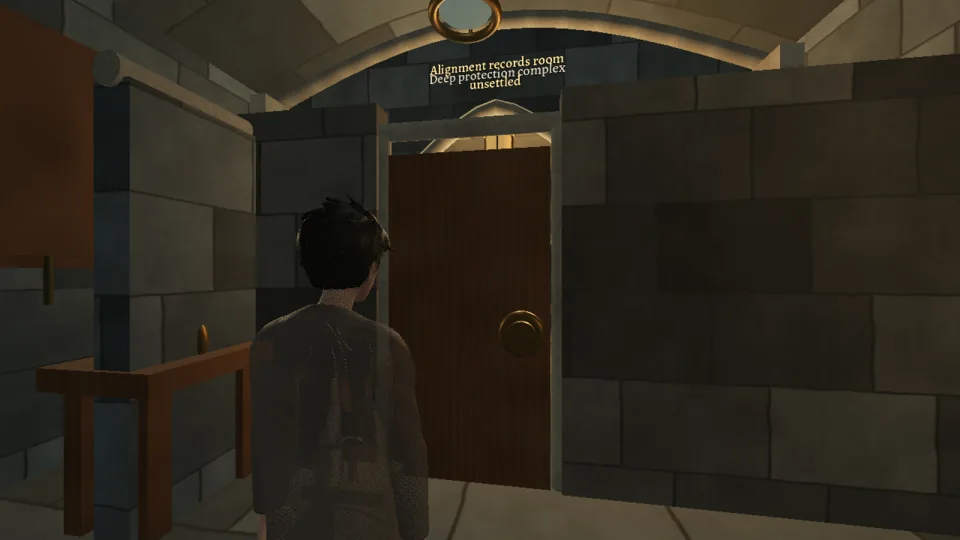 Door service antechamberThe service door swings shut; its replacement handle belongs on the far mount.
Chapter 5, on the lowest floor, off the Deep protection complex hall through the arch signed Door service antechamber. The same passage continues past its arch to the alignment records room.
Room card: "The service door swings shut; its replacement handle belongs on the far mount." The spare handle rests on its cradle on this side, and the empty mount is beyond the door.
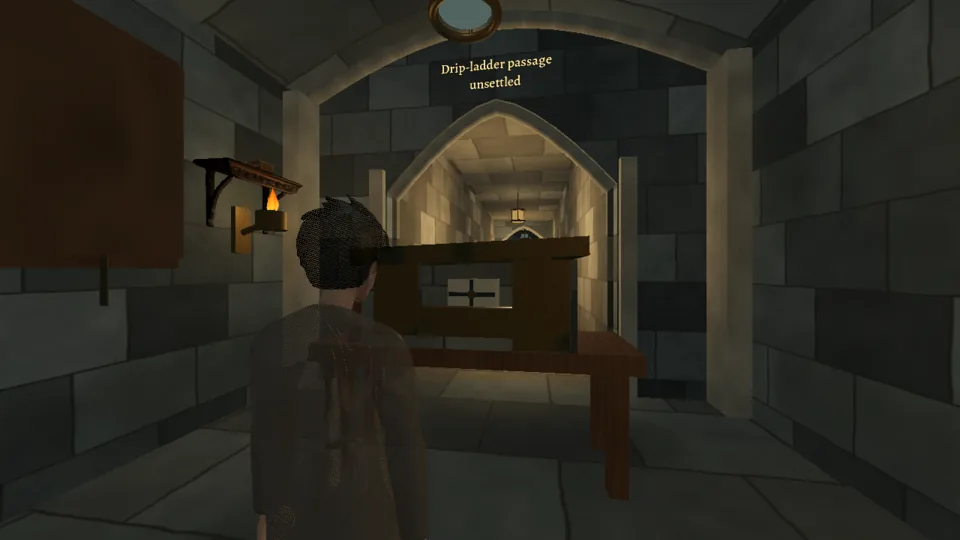 The sealed keepsakeThe keepsake case is jammed shut; its contents cannot be reached.
Chapter 5, on the lowest floor. An optional room beyond the drip-ladder passage, through its far arch.
Room card: "The keepsake case is jammed shut; its contents cannot be reached." The heavy lid bears down on a bent latch and a thin clasp. A long lever sits in the latch, but the lid's full weight is more than the lever can shift.