Velstraven is a third-person puzzle adventure. You play a student inside a vast university under lockdown: its ancient protections no longer recognise anyone, and room after room has broken down. Each room shows one visible problem: a door the draft keeps slamming, a gallery beam sagging under its load, a lift car stuck between floors. You put it right with your hands and with spells you prepare yourself from three orbs. There is no combat and nothing to unlock: all 35 spells can be prepared from the first minute, and the puzzle is working out which one fits.
 GameplayOrbs and recipes, binding and casting, the hand, rooms, failing and saves.
 SettingsEvery row of the Play, Sound, Picture, Controls and Student pages.
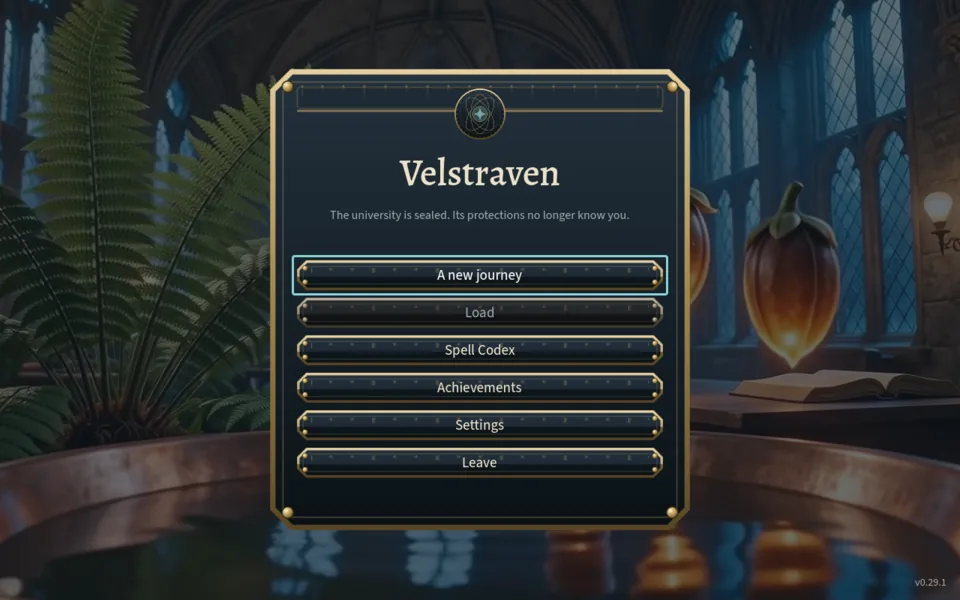
From launch into the university
How to play
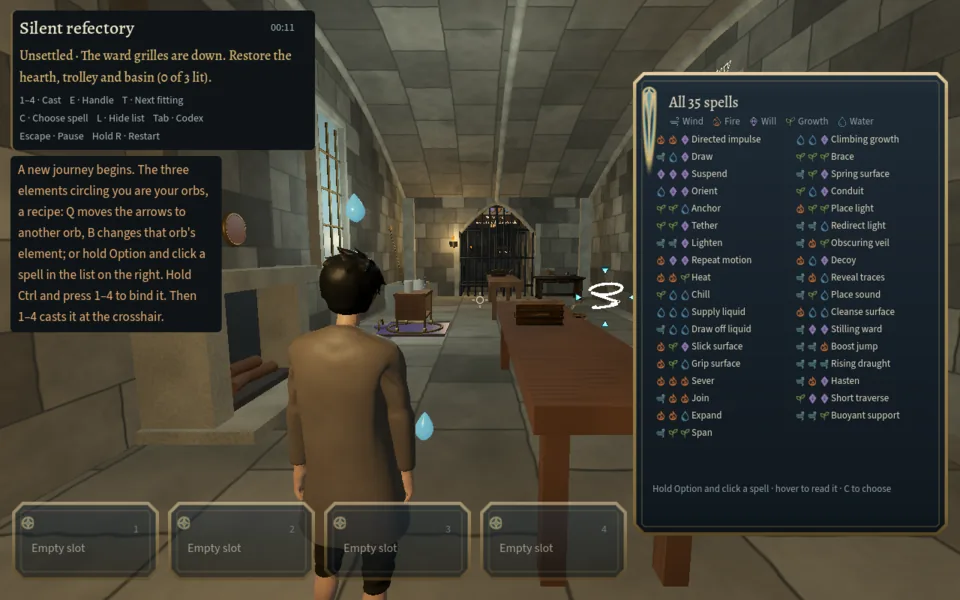
- Three orbs circle you; together they are a recipe. Each orb is one of five elements: Wind, Fire, Will, Growth or Water. Three orbs in any order make one of 35 recipes, and every recipe is a spell. See Every recipe.
- Set the orbs, bind them into a slot, then cast. Change an orb with Q/Z and B/V, or hold Alt (Option on a Mac) and click a spell in the list on the right. Hold Ctrl and press 1–4 to bind the recipe into that slot, then press 1–4 to cast it at the crosshair. Changing the orbs later never changes a slot that is already bound.
- Your hands matter as much as your spells. E handles the fitting under the crosshair within arm's reach, and X turns it. Spells reach 10 m; your hands reach about 2.4 m.
- Every fitting answers you. Aim at one and its card names it. Cast at it or touch it and the game says in words what your spell tried and how the fitting is now, so a wrong guess still tells you something.
- A room is settled when its problem is visibly fixed. The card at top left changes from
Unsettled
toOnward
and names the ways out. Settled rooms open the way onward through five chapters, down to the deep cellars. - Failing costs only the room. If a room fails, for example a guardian catches you or water reaches a refuge, that room returns to the state it was in when you entered and the rest of the journey stays as it was. Hold R for a second to restart the room yourself.
Controls
| Action | Keyboard and mouse | Pad |
|---|---|---|
| Walk | WASD or the arrow keys | Left stick |
| Look | Mouse | Right stick |
| Hurry | Shift | L1 / LB |
| Jump | Space | Cross / A |
| Choose the next or previous orb | Q or right click / Z | D-pad right / left |
| Change that orb's element | B or wheel up / V or wheel down | D-pad up / down |
| Pick a spell from the list | Hold Alt and click a row, or C to walk the list | L2, then the D-pad |
| Bind the orbs into a slot | Hold Ctrl + 1–4 | Hold R1 + Square, Triangle, Circle or Cross |
| Cast slot 1–4 | 1–4 (also the numpad); left click recasts the last slot | Hold R2 + Square, Triangle, Circle or Cross |
| Handle what you face | E | Square / X |
| Turn a fitting | X | Triangle / Y |
| Dismiss your creation | Middle click | Circle / B |
| Turn to the next / previous fitting | T / Y or Shift+T | R3 / L3 |
| Show or hide the spell list | L | Touchpad (Share/View on Xbox) |
| Spell Codex | Tab | Create / Back |
| Restart the room | Hold R for one second | Pause → Restart from autosave |
| Pause | Esc | Options / Start |
Every keyboard row except Pause can be rebound in Settings → Controls. The game shows PlayStation symbols by default and Xbox letters when the pad is an Xbox one. While the face buttons are not held with R1 or R2 they jump, handle, turn and dismiss.
The first lessons
A new journey opens with two quiet rooms that teach the orbs. They are not counted among the 35 rooms and earn no achievement, but their ward grilles close the way on until you finish them.
First lessons
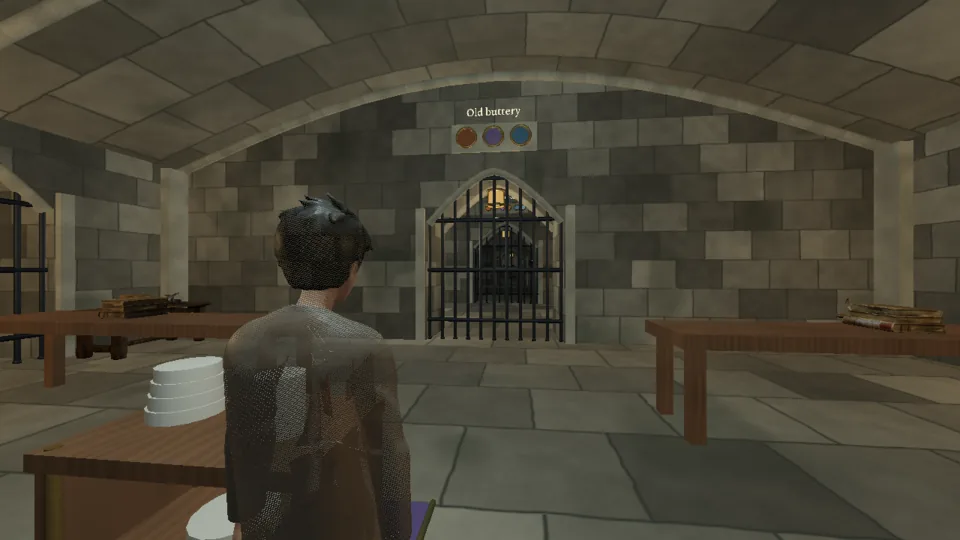
"The ward grilles are down. Restore the hearth, trolley and basin (0 of 3 lit)." Three seals over the door are dark: ember for Fire, violet for Will, blue for Water. Each matches the fitting in the room that wears its colour.
 Narrated video coming soon
Starter puzzles
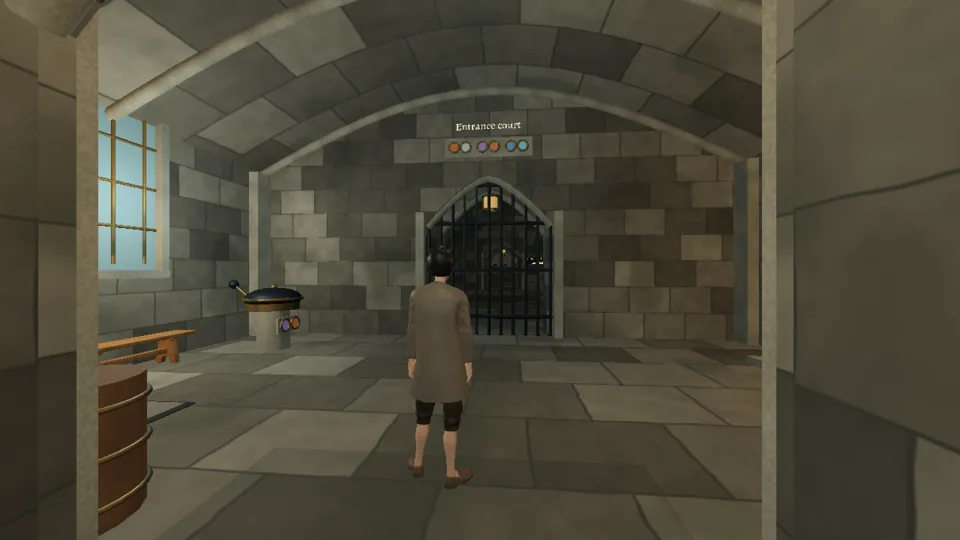
"The ward grilles are down. Restore the hearth, brazier and flagstone (0 of 6 put right)." Each fitting needs two steps in order, and each wears a pair of seals that light left to right: the spit hearth ember then pale, the brazier violet then ember, the flagstone blue then frost.
 Narrated video coming soon
Where next
Past the Old buttery lies the Entrance court, the hub of chapter 1. From there the Guides follow the journey room by room, and the Spells page lists what each recipe really does and where it helps.