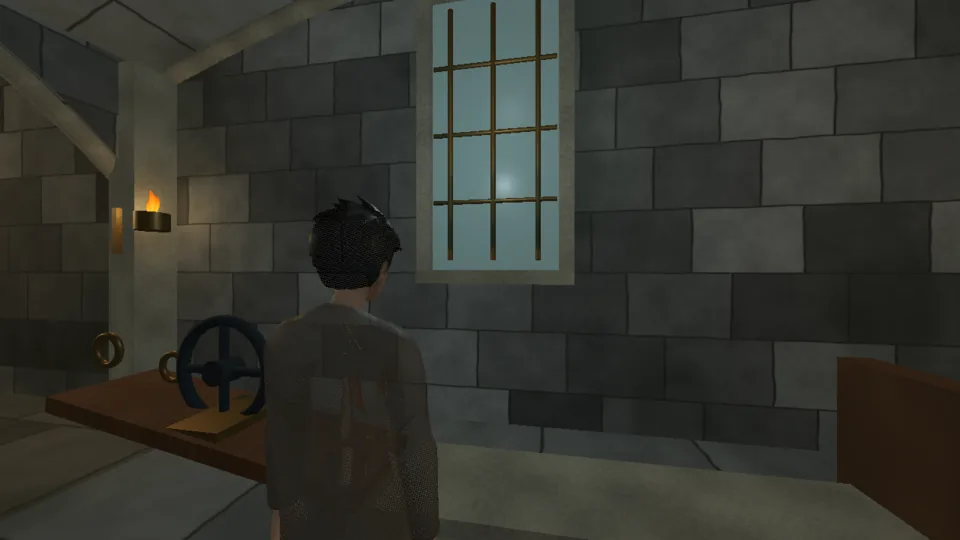
A small room of chapter 3. When you walk in, the room card reads: The striker roller overshoots its cradle and slams into the end stop.
Narrated walkthrough
 Narrated video coming soon
Getting there
Chapter 3, second upper floor. The east doorway of the Workshop and observatory hub.
What is wrong
"The striker roller overshoots its cradle and slams into the end stop." The roller and its loaded skid sit on a slope at the launch catch; below it a smooth floor strip runs through the cradle to a timber backstop.
What you can work
- Release
- The launch catch. Handle lets the roller and skid go down the slope.
- Roller
- The heavy striker roller on its skid. Let go, it gathers speed and runs past the cradle.
- Strip
- Smooth floor through the cradle; a loaded skid slides straight across it.
- Backstop
- Hard timber stop at the end of the run.
- Return
- The recovery lever. Winds the roller back to the launch catch for another run.
- Reading lamp
- Optional light to read the room by: Handle toggles it, Heat lights it, Supply liquid douses it, Place light roots a lasting flame blossom in its cup. It works none of the room's fittings.
- Reading shutter
- Optional: Handle or Orient opens a high window for daylight from a second angle. It works none of the room's fittings.
Solution
A nudge
A rough strip turns the skid's slide into heavy drag. The roller leaves the slope at about 2.6 m/s, and the drag stops it within about 1.2 m, inside the cradle.
The full solution
Other ways that work
- Stilling ward (Wind, Will, Will) cast at the Backstop before you release. The ward is a fixed 1.5 m field on the floor under the backstop. It drags hard on anything moving inside it, so the roller slows from about 2.4 m/s to a stop about 0.4 m into the field, in the cradle. Without the ward the same release slams into the backstop.
- Suspend (Will, Will, Will) on the Roller, then Draw (Wind, Water, Will) on it. The roller is lifted off its track and pulled to the middle of the cradle. Then dismiss the hold on the Roller (middle mouse button, or pad Circle/B, with the roller targeted). A floating roller does not count as resting.
- Spring surface (Wind, Growth, Will) on the Backstop is accepted by the room. The roller hits the backstop and bounces back at about 0.4 of its speed. On paper it coasts back to the far edge of the cradle (about 1.75 m, with the cradle running 1.15–1.85 m). No test covers this, so expect to retry.
Watch for
- The cradle is the 1.15–1.85 m stretch of the run. The roller must sit there almost still for one second.
- A roller that has already hit the backstop stays there. Pull the Return lever to wind it back to the catch, add your fix, and release again.
- Directed impulse on the roller only makes it run faster.
If it goes wrong
- There is no failed state. An overshoot just leaves the roller at the backstop: Handle Return ("The recovery lever returns the striker to its launch catch.") and try again.
- Hold R for one second ("Keep holding to restart from the room's autosave"), or use the pause door "Restart from autosave", to put the room back as it was when you walked in: "Automatic room-entry save restored." Rooms you settled earlier stay settled.
Achievements here
- Striker Tested: Solve the Striker test lane.
- Still Air: Still Air: placing any Stilling ward earns it. The ward at the Backstop here both earns it and solves the room.
- Float and Fetch: Float and Fetch: the Suspend-then-Draw route on the Roller earns it if the Draw comes within 20 seconds of the Suspend.