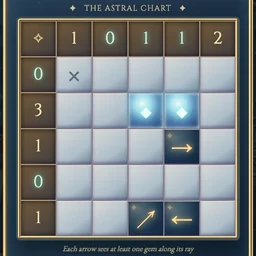
How to play
- Goal
- Find every hidden gem using the row and column totals and the compass arrows.
- How it ends
- A chart is won when its gem placements satisfy every clue; there is no loss.
- Record
- Your first solve time for each chart is kept, and the fastest first solve can hold its best-time record.
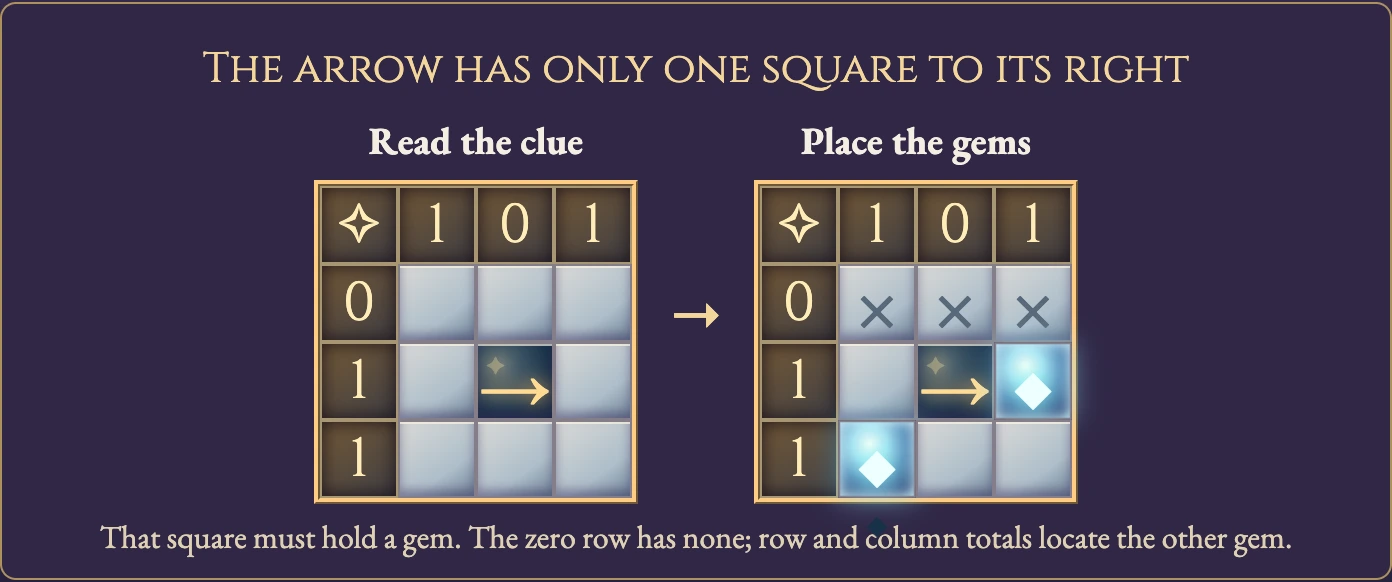
- Place gems until each row and column contains exactly the number printed beside it. Arrows occupy empty squares and point along a straight or diagonal ray to at least one gem, perhaps several squares away. Tap an arrow to light its ray.
- The worked example shows a right-pointing arrow with only one square in its ray: that square must contain a gem. A row marked zero has none. Use both kinds of clues together to narrow the remaining spaces.
- Tap a square to toggle a gem. Choose Empty, right-click or long-press to mark a square you have ruled out; empty marks are optional. Restart clears marks while the first-opening clock keeps running. A chart finishes automatically when its gems satisfy every clue, and later replays are practice.
Controls
| Tap / click a square | Toggle a gem |
|---|---|
| Empty tool / right-click / long press | Mark a square empty |
| Tap / click an arrow | Illuminate its compass ray |
| Arrow keys | Move the cell focus |
| Enter / Space | Toggle a gem in the focused square |
| X / Backspace | Mark empty / clear the focused square |
| R / Restart | Clear marks while keeping the first clock |
| Escape | Close a panel or return to the atlas |
| Gamepad | Navigate charts and panels; place gems and empty marks |
All shelves are open. An unfinished chart saves locally; after a reload its first finish stays local. Only an uninterrupted first solve can rank. Optional empty marks do not affect completion, and no answer is shipped in the browser build. Each chart is uniquely solved by deductions; its arrows are necessary to distinguish the answer.
Watch how to play
About Shinro
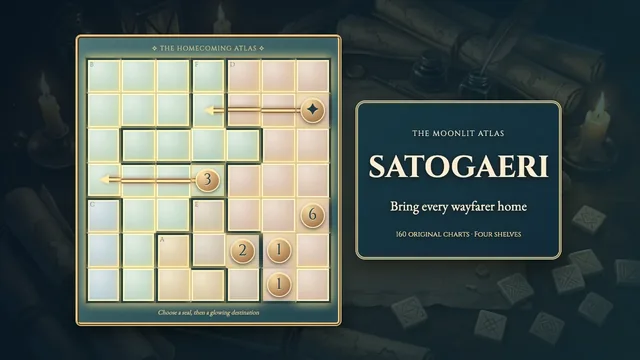
Trace an Orenvalt observatory’s star charts. Each row and column number counts hidden gems; engraved compass arrows point toward at least one gem along their rays.
Explore 160 original charts in four open shelves, from compact 5×5 constellations to intricate 7×7 maps. Every chart has one independently proved answer and a deduction path without guessing.
Your first solve time stays in this browser. An uninterrupted first solve can claim the named best shown beside the chart and in the atlas.