The sixth trial. The War Table is not one boss but five marble chess pieces, King, Queen, Rook, Bishop and Knight, standing round an eight by eight marble board of 3 m squares. Each piece is a boss of its own with 730 health per hero, knows exactly one spell and casts it every 4 s; a piece also waits 0.8 s between any two of its casts. Every spell works the same way: it marks squares on the floor, 1.5 s later each marked square is struck for 10% of a hero's health, once per pattern, and patterns that land on the same square add up. Every hero has 100 health, so the numbers below read as percentages. The board's edge is hard: no move, roll or blink takes you off it.
The video is one whole fight played by the game's automated test player as a female Stormcaller, drawn at random from the classes no other guide uses. She kills the pieces one at a time: Knight, Rook, Queen, King, then Bishop, walking off the marked squares and rolling through the physical ones. The last piece falls 3 minutes 4 seconds after combat begins, with no damage taken. After VICTORY come the cards: Float Like a Butterfly, which this boss calls The Immortal Game, then Endgame and Opening Gambit, each one piece of five, and Steal Their Thunder, the Stormcaller's class ladder.
The King opens with “Take your places. The game begins.”, shown on screen during his close-up and spoken over quieter music and effects. Boss voices in Settings controls the audio; the opening quote still appears when voices are off.
The five spells
| Piece | Spell | Squares marked | Kind | Answer |
|---|---|---|---|---|
| King | Royal Decree | the squares round a random square (8, fewer at an edge); that square itself is spared | physical | Step off, step onto the spared square in the middle, or roll through |
| Queen | Royal Line | a whole row or column, or a diagonal, 50/50 | physical | Step off the line or roll through: her diagonals are physical too |
| Rook | Rank and File | a whole row or column of 8 squares | physical | Step off the line or roll through |
| Bishop | Long Diagonal | one diagonal of 3 or more squares | holy | Walk off it, or immunity: the roll does not dodge it |
| Knight | Knight's Leap | every square a knight's move from a random square (2 to 8); that square is spared | physical | Step off, step onto the knight's own square, or roll through |
Every spell does 10% to a hero with any part of their foot circle (a small circle under the feet) on a marked square, once per pattern however many of its squares you touch. A foot circle just touching a marked square is not hit. A spell's name appears under the five health bars when its piece starts it and stays until its marks have landed. Pets, skeletons, turrets and totems are struck like heroes. Before a pattern is shown, the game checks that every landing can be walked clear of from a clear square at the one before, so an unfair draw is never shown: a piece with no fair draw waits half a second and draws again.
The damage kind belongs to the spell, not to the caster: the Bishop's Long Diagonal is holy whichever piece casts it, and every other spell is physical whichever piece casts it. A square struck by one of each is two hits, and the roll removes only the physical one. Immunity dodges all.
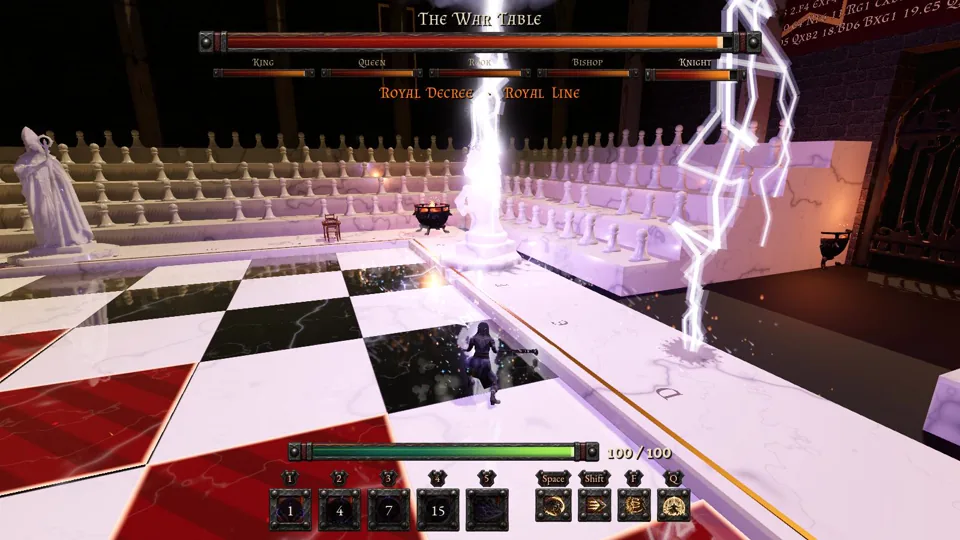
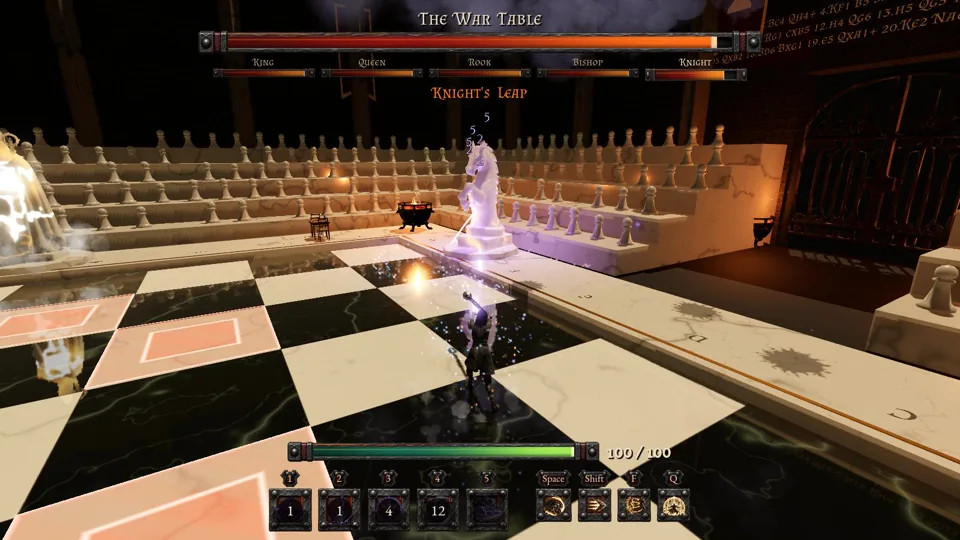
Reading the board
With floor warnings on (the default) a marked square is lit red and brightens and fills from its middle until the landing. Where two or more patterns land at the same instant the square is darker with a white number: that many hits. A pattern that lands later on a square already marked shows as a thin ring that brightens as it fills. Small gold symbols show the spell: a rook for a row or column, a bishop for a diagonal, a queen for either, a crown in the middle of a King's ring, a knight in the middle of a Knight's square.
With floor warnings off (the Blind Faith achievement) only the symbols remain, small gold inlays that light when a pattern is marked and fill until it lands. A line shows a symbol in each of its two end squares (a bishop symbol means holy: do not roll). A King's or Knight's pattern shows its symbol in the middle of the spared square, the one place that spell cannot hurt. The same line twice shows two symbols side by side at each end: the count is the number of hits. The marble veins of each statue fill with gold as it casts, so the veins tell you which piece, and the symbols tell you where.
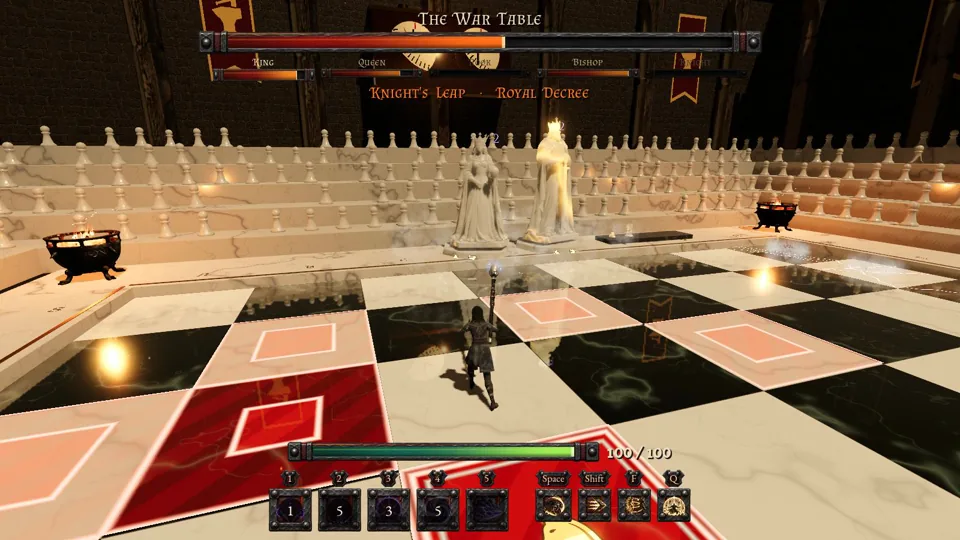
When a piece dies
When a piece falls, every survivor heals a share of its health and learns its spell. The share is 1 over the number of pieces alive just before the death: 20% when five stood, then 25%, 33% and 50% when only two did. So kill one piece at a time: spreading your damage over several pieces costs up to half as much again. Each spell keeps its own 4 s cooldown and each piece its 0.8 s wait, so a piece that knows k spells casts k patterns every 4 s, and the last piece casts all five, one after another every 0.8 s.
For 2 s after a death the hush holds: nothing new is cast and the pieces cannot be hit, and the marble goes dull. Marks already shown still land, you move freely and your cooldowns run. The learned spell is ready when the hush ends, and the survivors' next casts are staggered 0.8 s apart, so you meet the new spell one piece at a time.
| Pieces dead | Patterns every 4 s | Hits landing each second |
|---|---|---|
| 0 | 5 | 1.2 |
| 1 | 8 | 1.9 |
| 2 | 9 | 2.1 |
| 3 | 8 | 1.9 |
| 4 | 5 | 1.2 |
The middle of the fight is the hardest, not the end: with two pieces dead the three left cast nine patterns every 4 s between them, and the last piece alone is only as busy as the opening. Several deaths in one instant share one hush; a piece struck below zero in the same instant lives on if the heal lifts it back above zero.
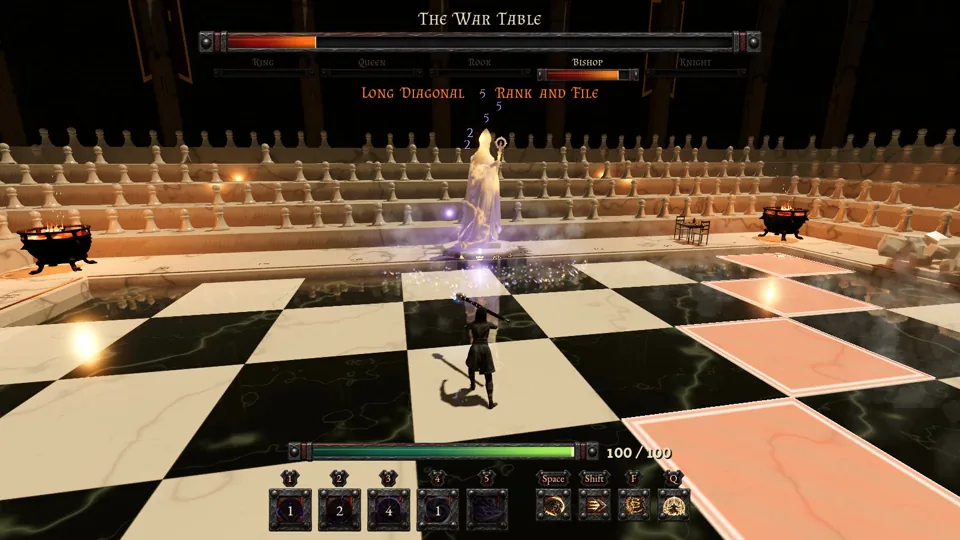
The last piece
The last piece standing ends the fight its own way, with a line of its own: the Rook comes down course by course (“Castle... breached.”), the Bishop sinks to his knees in a shaft of light (“My faith... was not enough.”), the Queen topples and shatters (“Long live... the King.”), the King tips over and lies there (“The board is yours.”) and the Knight rears and breaks (“I jumped... too far.”). Which piece is last is your choice: the two challenges below ask for it.
Achievements
Besides the shared no-damage and Blind Faith achievements (the no-damage one is called The Immortal Game on this boss), the trial has two challenges of its own, each counted in five ticks, one per piece, each with a guide and a video. In a group every hero must be alive at the end.
Endgame
Defeat the War Table with each of its five pieces as the last one standing, every hero alive at the end.
Opening Gambit
Defeat the War Table having killed each of its five pieces first, every hero alive at the end.
The guides: Endgame and Opening Gambit. Both count only on a win. The fight in this video moves each of them one tick, with the Knight first and the Bishop last. All of them: Achievements.
Tips
- Never stand still on a marked square. You have 1.5 s from the mark; leaving a line from its middle, foot circle and all, is a walk of under 2 m.
- Roll through every physical pattern you cannot leave, and keep immunity (1.5 s, 45 s cooldown) for a holy diagonal with no way out.
- The spared middle square of a King's or Knight's pattern is the safest place on the board while it lands.
- Finish a piece once you start on it: damage spread over several pieces is healed back, and costs up to half as much again.
- Spend the 2 s hush choosing your next piece and your next square: the learned spell comes back at its end.
- Stay off the edge when you can: the board's edge is hard, so a roll or blink toward it stops short.