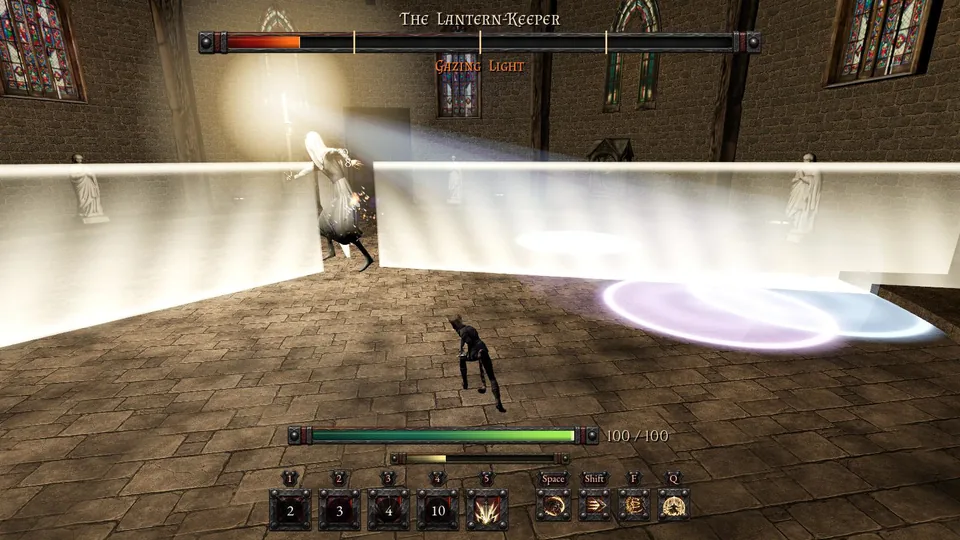
The fourth trial. The Lantern-Keeper has 1,700 health and stands in the middle of her chapel, a round church hall 32 m across, without ever moving; she only turns slowly to face you. Everything she does is light from the lantern on her pole, and light is not physical, so the roll dodges nothing in this fight. Her lights, her walls and the fading of Lights Out all run on one clock that stops while she gazes: a Gazing Light freezes everything else, and it all goes on exactly where it was when the shine ends. Every hero has 100 health, so her numbers below read as percentages.
The video is one whole fight played by the game's test player as a male Shade, a class no other guide uses. He fights at her side, steps out of each pool's path before it arrives, stands still and turns away in every Gazing Light, and from half health keeps to one gap between her walls. The Lantern-Keeper fell at 2:05, and the Shade was never hit and never crossed a wall. After the win the achievement cards pop up from 2:06: Unscathed, Keep the Gap and the Shade Ladder. Each boss guide draws its own hero, so every class gets its turn.
The abilities, in the order they arrive
| From | Ability | How often | Damage | Answer |
|---|---|---|---|---|
| 100% | Searching Lights | all fight: three pools always moving | 15 on contact, again every second inside | Keep out of their paths, or immunity |
| 75% | Gazing Light | every 25 s, for 5 s | 60 and a stun to the end of the gaze | Stand still and turn your heading away from her |
| 50% | Rotating Walls | all fight from then: three walls always turning | 30, then no wall hit for 1 s | Stay in your gap and move with it; blink through, or immunity |
| 25% | Lights Out | once | none itself: the hidden lights and walls still hurt | Remember the patterns; each gaze shows them again |
Nothing here is marked on the floor beforehand: the pools and walls are the attack itself (a new wall is a harmless ghost for its first second), and the shine is the gaze's only warning. The name of each new ability appears under her health bar as it starts. Pets, skeletons and other summons are hit by her lights and walls like heroes.
Searching Lights
From the pull, three cones of light shine from her lantern down to three pools on the floor, each 2.5 m in radius and each tinted differently. Each pool follows its own fixed route: one in a spiral out from her and round the rim (13 m/s), one wall to wall in parallel lines (10 m/s), and one in petals, eleven loops out from her feet to the rim and back (14 m/s). Each route covers every spot of the floor in about 21 s (the petals in 27 s), then runs back the way it came. A pool hits you the moment your body touches it, for 15 light, and again every second you stay inside. The routes never change, so a pool you see coming is a pool you can step out of; standing still costs you one hit per pass. The petals all pass through her feet, so close to her you meet them far more often than at the rim.
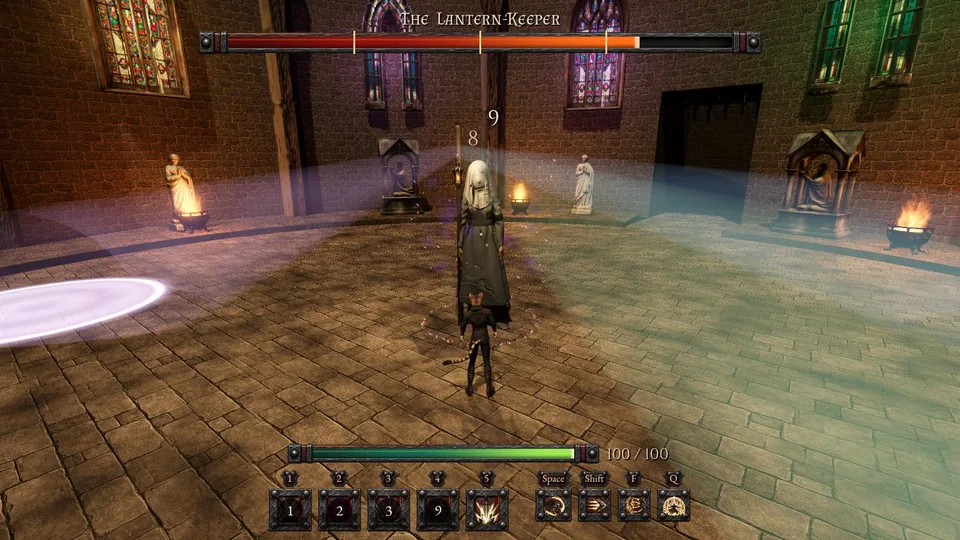
Gazing Light (from 75%)
At 75% she lifts the lantern and a huge white shine fills the chapel for 5 seconds; the next one starts 25 seconds after this one began. While she gazes, her other lights stand frozen and hurt nobody, so a hero who stands still is safe from them. What counts is your heading, the way your hero faces: if it points within 60° of her, a bar under your health fills. It never empties during one gaze, and when it has filled for one second in all you take 60 and are stunned until the gaze ends. Free look (hold Alt or the middle mouse button, or click the right stick) turns only the camera and does not count. So turn away as the shine starts; a quick look back to cast fits as long as the bar has room. Immunity keeps the bar just short of full; if it got that far, the first moment you face her after immunity ends turns you to stone.
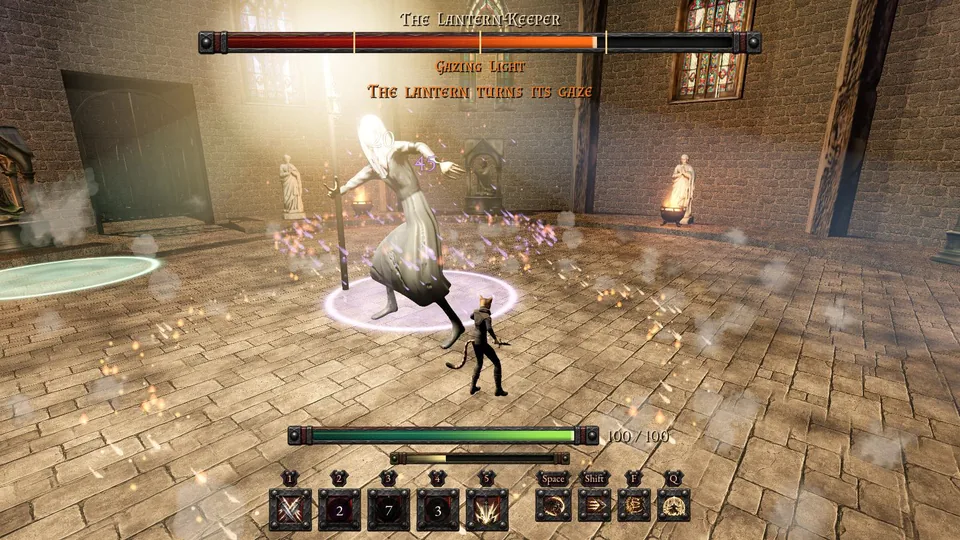
Rotating Walls (from 50%)
At 50% three walls of light, 120° apart, rise from her body out past the edge of the floor and start turning round her. They are thin wedges, narrow by her feet and wider at the rim, and they turn at one steady rate: 7 m/s at the rim, as fast as you walk, 3.5 m/s halfway in and barely 1.3 m/s near her, so any spot is swept every 4.8 seconds. Each wall is born as far behind you as it can be and stays a harmless ghost for its first second. A wall hits for 30 light, then no wall can hit you for a second. The answer is to stay in your gap and move round with it: near her that is a slow walk, at the rim a run. If you must cross, blink through a wall or use immunity, but every crossing loses Keep the Gap.
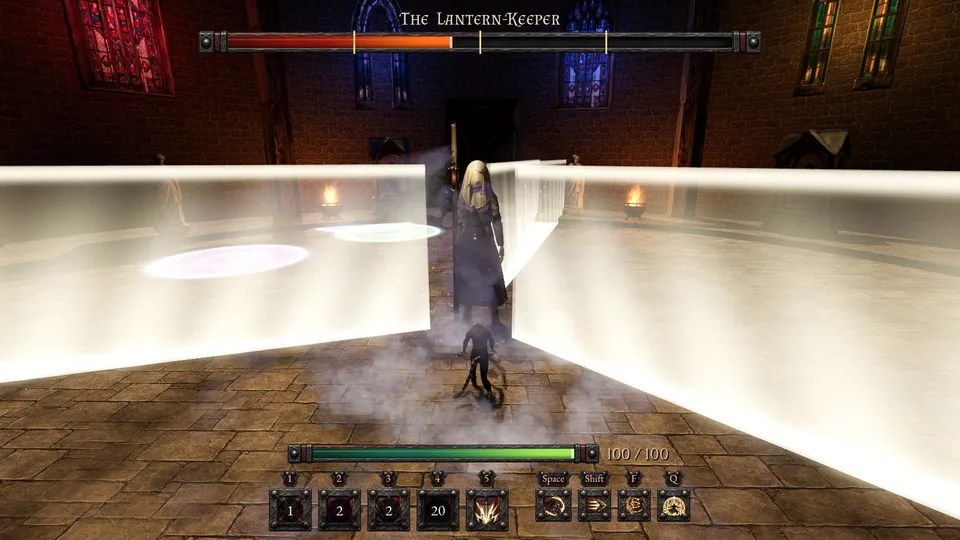
Lights Out (from 25%)
At 25% the chapel goes dark. Over 10 seconds the pools, the cones and the walls fade to nothing, the braziers die and the windows dim, and only a faint cool light stays on each hero. The lights and walls keep moving and hurting exactly as before: you have to remember where they go. The Gazing Light still comes every 25 seconds, and each gaze shows every hidden light and wall for a moment, then lets them fade again without moving them.
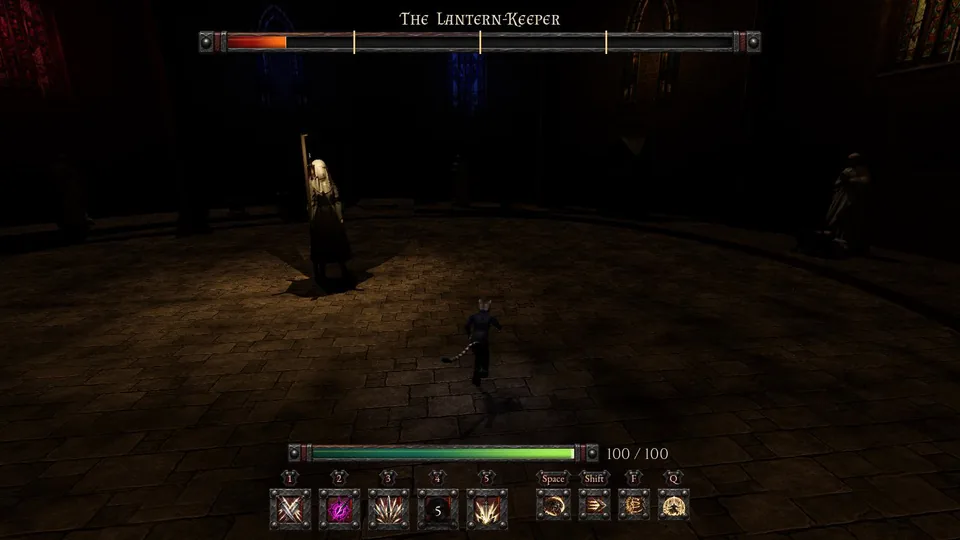
Achievements
Besides the shared no-damage achievement, this trial has two challenges of its own. In a group, every hero must keep the condition.

Keep the Gap
Defeat the Lantern-Keeper without anyone ever crossing one of her walls of light, by any means.

Stolen Glances
Defeat the Lantern-Keeper landing hits from two different casts on her during every Gazing Light, each of you, with nobody turned to stone.
For Keep the Gap, "by any means" is meant literally: walking, rolling or blinking through a wall, crossing it under immunity or while it is frozen in a gaze, and a wall sweeping over a hero who stands still all count as crossing. Only heroes count: a pet or skeleton that crosses does not lose it. Pick a gap when the walls rise and move round with it for the rest of the fight. The fight in the video earned it.
Stolen Glances asks the opposite of the safe answer to the gaze: in every Gazing Light, glance back at her quickly, release two spells that hit her, and turn away again before the bar under your health fills. Two different casts means two separate presses: all the hits of one cast count once, however many there are (one Rain of Arrows's many arrows count as one). A spell that needs facing goes where you face, so it needs the glance; hits from a cast pressed earlier also count, such as a skeleton already up, so a summoner may need only one glance-cast in a gaze. The Shade in the video turned away in every gaze, so it did not earn this one. All of them: Achievements.
Tips
- Watch the pools, not the cones: the cone is only where the light comes from, the pool on the floor is what hits.
- When the shine starts, stop and turn away first; the frozen lights cannot hurt you, so there is nothing to run from.
- Choose your distance before 50%: near her the walls are slow but the petals pass more often, at the rim the walls run as fast as you do.
- Learn each route before 25%, and use each gaze in the dark to see where the lights and walls have got to.
- Immunity (1.5 s, 45 s cooldown) covers any one light or wall; the roll covers nothing here.